Creative Upcycling Ideas for Your Living Space
Hey there, DIY enthusiasts! Before I dive into my favorite upcycling projects, let me share something I wish someone had told me when I started: having the right tools makes all the difference!
Before You Start: Essential Tools for DIY Home Decor
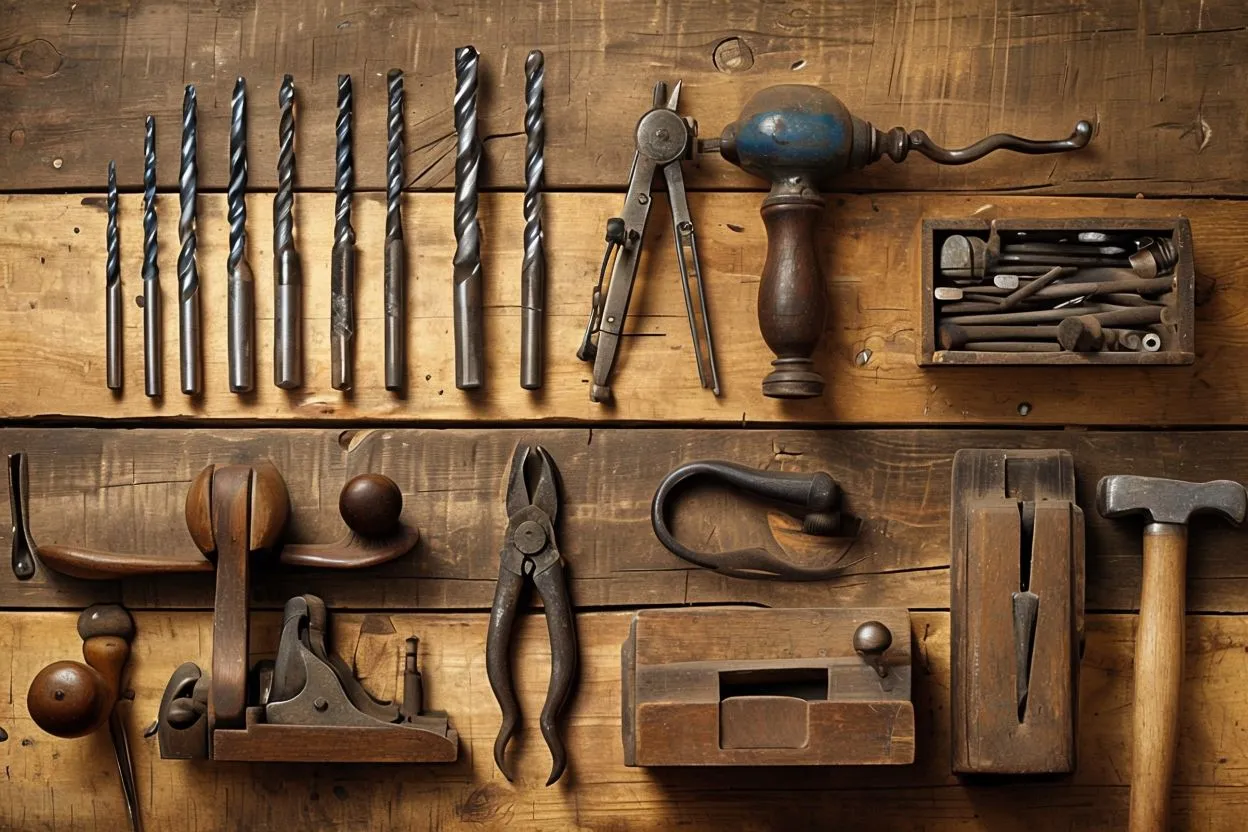
Here’s my must-have toolkit for these projects:
- Basic tool set (hammer, screwdrivers, pliers): $30
- Cordless drill with basic bits: $45
- Sandpaper (various grits): $10
- Paint brushes and rollers: $20
- Safety gear (goggles, masks, gloves): $25
Total investment: Around $130 – trust me, these tools will pay for themselves after just a few projects! And that’s how you start DIY home decor on a budget!
Upcycled Home Decor
Transform Old Pallets into Stylish Wall Art
Old pallets might look like scrap wood at first, but they have endless decor potential. By simply disassembling a pallet, sanding it down, and adding some paint or stain, you can create everything from rustic wall signs to large, statement art pieces.
Imagine a custom piece that shows your favorite quote or a simple painting of your choice, hung up in the living room or entryway. I’ve seen people make stunning pieces by stenciling their family names, painting abstract designs, or even using string art on pallet wood. You can even arrange multiple small pallet boards in different shapes to create a unique wall mosaic. If you want a weathered look, try giving it a light sanding after you paint or stain—it brings out a charming vintage feel!
Materials & Costs Breakdown:
- Wooden pallet (often free behind stores!)
- Sandpaper (80 and 120 grit): $5
- Wood stain or paint: $15
- Brushes/rags for application: $8
- Stencils (optional): $10
- Hanging hardware: $5 Total Project Cost: $30-45
Seasonal Variations:
- Spring: Create a vertical herb garden with attached mason jars
- Summer: Add rope lighting around the edges for outdoor decor
- Fall: Paint autumn leaves or Thanksgiving messages
- Winter: Transform into a holiday card display board
Mason Jar Lighting Projects: Step-by-Step Guide
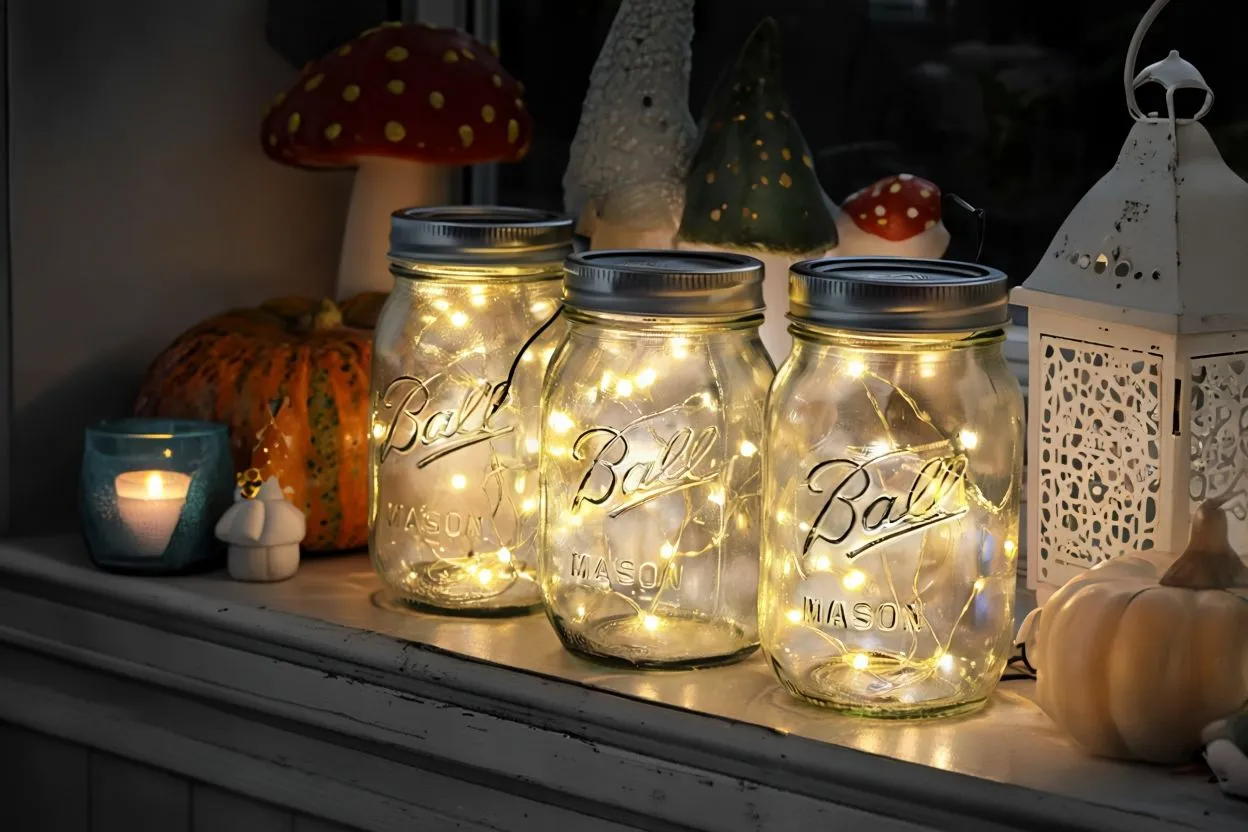
Mason jars are iconic and for good reasons! They’re versatile, easy to find, and perfect for creating a warm, rustic lighting set-up. Here’s a simple project to make your own mason jar pendant lights.
1. Gather Your Materials: You’ll need mason jars, light sockets, a hanging cord kit, and Edison bulbs (for that vintage glow).
2. Prep the Jars: Carefully drill a hole in the jar’s lid, large enough for the light socket. If you’re not comfortable with power tools, you can buy lids pre-drilled for lights!
3. Assemble the Light: Insert the socket into the lid, screw on the bulb, and connect the cord.
4. Hang it Up: You can use just one jar or multiple, depending on the space you’re decorating. They look gorgeous above kitchen counters or as unique bedside lights.
I once made a set of these for my patio, and they added the perfect cozy touch. Whether you go for a single light or cluster several together, mason jar lights add charm without breaking the bank.
Materials & Costs Breakdown:
- Mason jars (pack of 6): $12
- Pendant light kits: $12 each
- Edison bulbs: $8 each
- Glass drill bit: $15
- Wire and mounting hardware: $10 Total Project Cost: $45-85 (depending on the number of lights)
Seasonal Adaptations:
- Spring: Add pastel-colored glass paint for a soft glow
- Summer: Use as outdoor party lighting with citronella candles
- Fall: Fill the bottom third with artificial autumn leaves
- Winter: Add frosted spray for a snowy effect
Repurposed Window Frame Decor Ideas
Have an old window frame lying around? Don’t toss it, turn it into a piece of decor! Old windows are perfect for adding a bit of farmhouse charm to any room.
One of my favorite ways to use a window frame is as a photo display. Simply string some twine across the frame and use mini clothespins to hang photos, postcards, or little notes. It’s like an ever-changing scrapbook for your wall. Another idea is to use the frame as a decorative mirror. Adding a mirror behind the glass can create the illusion of more space, making it ideal for smaller rooms. And if you like the look of shabby chic, leaving the frame’s paint chipped or sanding it down a little can add to the vintage vibe.
Materials & Costs Breakdown:
- Vintage window frame: $5-20
- Copper wire: $8
- Mini clips: $5
- Mirror pieces (if using): $30
- Cleaning supplies: $5
- Paint/finish: $15 Total Project Cost: $40-85
Seasonal Styling Tips:
- Spring: Display pressed flowers and botanical prints
- Summer: Create a seashell and coastal photo display
- Fall: Showcase dried leaves and autumn landscapes
- Winter: Add fairy lights and frost effect spray
DIY Vintage Suitcase Projects for Home Storage
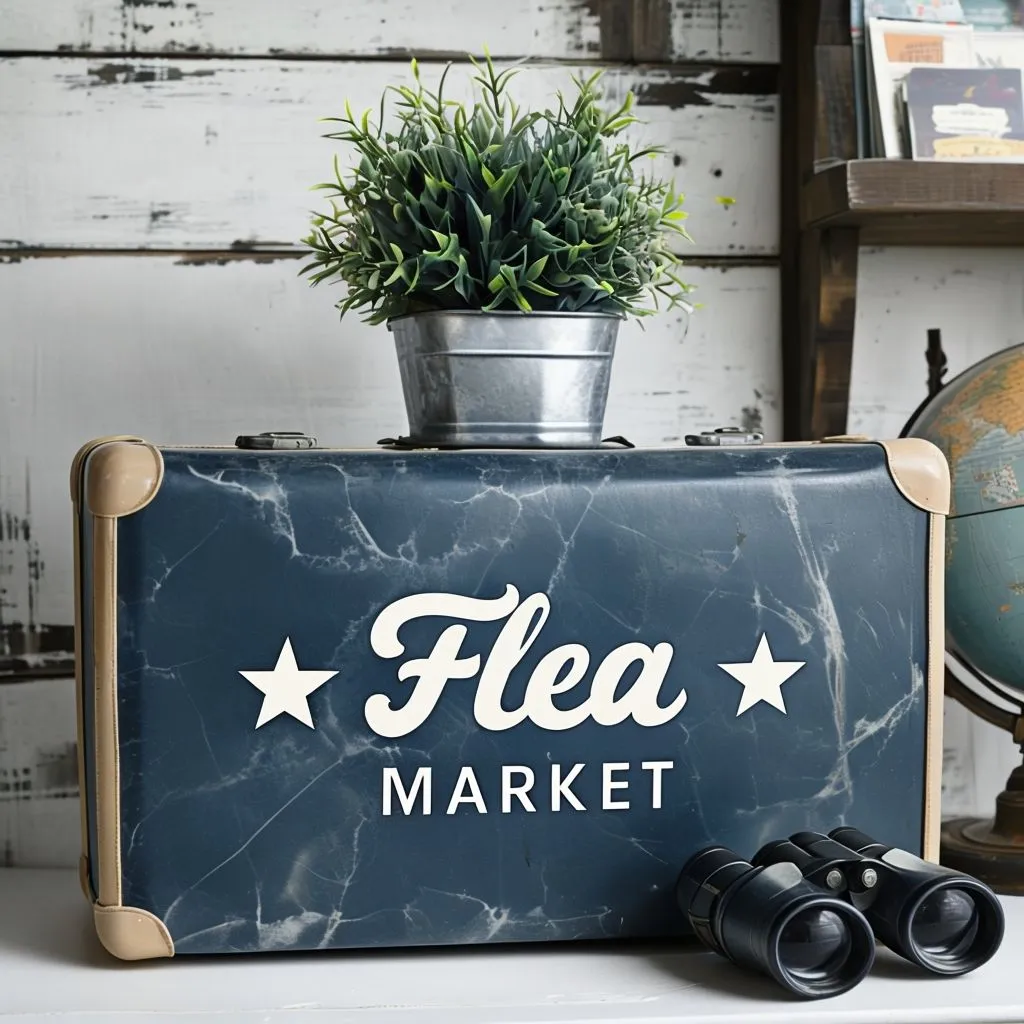
Vintage suitcases are as functional as they are stylish, making them a great upcycling project. You can often find old suitcases at thrift shops or flea markets, and with a little creativity, they can add unique storage to your home.
If you stack a few suitcases together, they can serve as a quirky nightstand or side table. Need extra storage? They’re perfect for storing blankets, books, or seasonal items while keeping clutter hidden away. Another idea is to convert one into a pet bed! Just remove the top, add a comfy cushion inside, and voila—your furry friend has a retro place to relax. I once used a small vintage suitcase to store family photo albums—it looked stylish and kept the albums protected and accessible.
Materials & Costs Breakdown:
- Vintage suitcase: $2-15 each
- Furniture legs (set of 4): $12
- Cushioning foam (for pet beds): $15
- Decorative fabric: $10/yard
- Hardware for installation: $8
- Felt lining (optional): $6 Total Project Cost: $35-70
Seasonal Organizational Ideas:
- Spring: Store winter clothes and holiday decor
- Summer: Create a picnic basket/outdoor dining storage
- Fall: Organize Halloween costumes and decorations
- Winter: Store gift-wrapping supplies and seasonal ornaments
Pro Tip: I’ve found that larger suitcases work perfectly for storing seasonal quilts and throws. I keep one under my bed filled with cozy winter blankets during the summer months!
Creating Modern Decor from Thrifted Items
Thrift stores are treasure troves for DIY decor! With a bit of creativity, you can turn items like old picture frames, candlesticks, and vases into beautiful decor for any style of home.
For example, painting mismatched picture frames in a single color can create a cohesive gallery wall. I also love using thrifted vases to create unique centerpieces. By grouping different shapes and sizes, you can make an eye-catching display, whether on a shelf or as a dining table centerpiece. Once, I found an ornate candlestick that just needed a fresh coat of paint. Now, it’s one of my favorite accent pieces!
Materials & Costs for Common Thrift Flips:
- Lamp Makeover:
- Thrifted lamp: $4-10
- Spray paint: $7
- New shade: $15-25
- New wiring kit (if needed): $12 Total: $38-54
- Frame Gallery Wall:
- Assorted frames: $3-5 each
- Spray paint: $7
- Hanging hardware: $10
- Printing photos: $15 Total for 5-piece gallery: $47-57
- Vase Collection:
- Thrifted vases: $2-4 each
- Paint: $8
- Sealant: $6 Total for 3-piece set: $20-26
Seasonal Styling Guide:
Transform picture frames into holiday card displays
Pro Tip: I’ve found that larger suitcases work perfectly for storing seasonal quilts and throws. I keep one under my bed filled with cozy winter blankets during the summer months!
Spring:
- Refresh metal items with pastel spray paints
- Group milk glass for Easter displays
- Transform old shutters into herb planters
Summer:
- Paint thrifted wicker pieces in bright colors
- Create coastal vignettes with blue glass
- Turn old frames into serving trays for outdoor dining
Fall:
- Spray paint baskets in warm metallics
- Group brass items for rich displays
- Convert old books into pumpkin decor
Winter:
- Paint candlesticks in white and silver
- Create mercury glass effect on vases
Bonus: Money-Saving Tips for DIY Decor Success
- Join Buy Nothing Groups I’ve gotten some of my best finds through local Facebook groups where people give away items for free. That window frame I mentioned? A Buy Nothing find!
- Build a DIY Community Share tools with neighbors or join a tool library. My neighbor and I split the cost of a power sander – why should we each own one when we rarely use it?
- Start Small Begin with simple projects like the mason jar lights before tackling bigger pieces like pallet walls. Trust me, confidence comes with practice!
- Remember to properly seal and protect your DIY pieces. I learned this the hard way when my first pallet project started splintering after a few months! A good sealant might cost extra, but it’s worth it for longevity.
- Keep a project journal – I use my phone to take photos of everything I make before and after. It’s amazing to see how your skills improve, plus it helps you remember techniques that worked well.
- Remember, the best part about DIY decor isn’t just saving money – it’s creating pieces that tell your story and make your house feel truly like home. Happy crafting, everyone!
