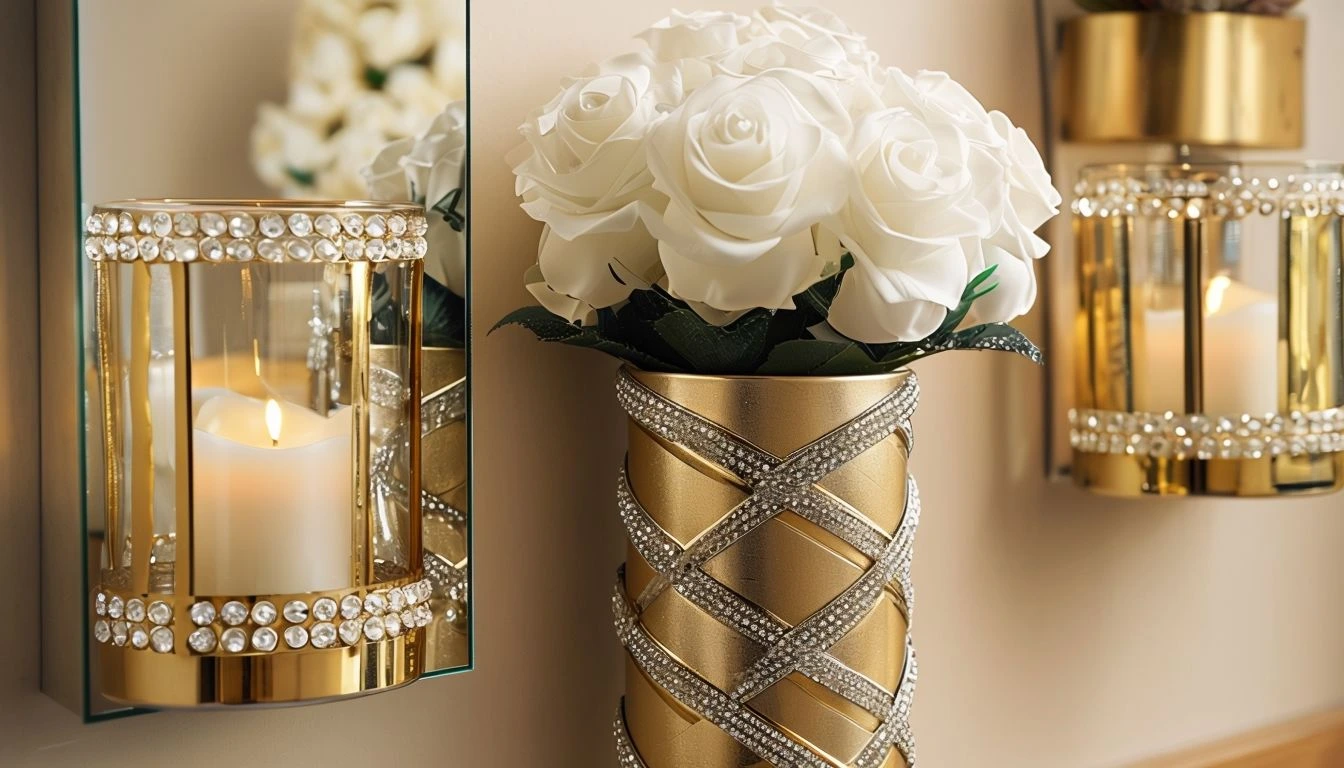
Why Dollar Tree Craft Ideas?
You know that feeling when you’re scrolling through Pinterest, seeing all these gorgeous home décor items, and thinking, “I love that, but who has $200 for a vase?” That was me some years ago, sitting in my tiny apartment, surrounded by blank walls and a very empty bank account. Then, one rainy Tuesday morning, I wandered into Dollar Tree looking for cleaning supplies, and – oh my goodness – my life has changed!
I still remember my first Dollar Tree craft project – a complete disaster that involved hot glue burns, way too much glitter, and a wonky wreath that looked nothing like the Pinterest photo. But you know what? That messy first attempt kicked off my journey into what I now call “luxury looks on a lemonade stand budget,” and I’m here to share everything I’ve learned along the way.
The Real Truth About Dollar Tree Crafting (From Someone Who’s Made All the Mistakes)
Let me start by busting a myth: Dollar Tree crafting isn’t just about making cheap stuff look less cheap. It’s about seeing potential where others see plastic, and possibilities where others see, well, Dollar Store items. I remember showing my mother-in-law my “expensive” new centerpiece, and her jaw literally dropped when I told her it cost less than $10 to make. (She still doesn’t believe me, by the way!)
Why Dollar Tree Has Become My Second Home
I’m not exaggerating when I say I visit Dollar Tree more often than I see some of my relatives. Here’s what I’ve discovered after countless trips:
Best Times to Shop:
– Tuesday mornings are golden! That’s when my local store restocks, and I’ve made friends with
Maria, the morning supervisor, who always gives me a heads-up when new craft supplies arrive.
– End-of-season sales are like hitting the crafting lottery. Last year, I scored enough Christmas
supplies in January to make gifts for my entire family this year.
The first week of each month brings new seasonal items. I learned this the hard way after missing out on those adorable spring gnomes everyone was using in their projects.
My Essential Dollar Tree Craft Supply List (AKA What’s Actually Worth Buying)
First things first – here’s what I always stock up on when I visit:
Seasonal décor items. Imagine a custom piece that shows your favorite quote or a simple painting of your choice hung up in the living room or entryway. I’ve seen people make stunning pieces by stenciling their family names, painting abstract designs, or even using string art on pallet wood. You can even arrange multiple small pallet boards in different shapes to create a unique wall mosaic. If you want a weathered look, try giving it a light sanding after you paint or stain—it brings out a charming vintage feel!
First things first – here’s what I always stock up on when I visit:
- Hot glue gun sticks
- Foam boards
- Various ribbons
- Glass vases and containers
- Artificial flowers
- Picture frames
- Command hooks
- Craft paint
- Wooden signs
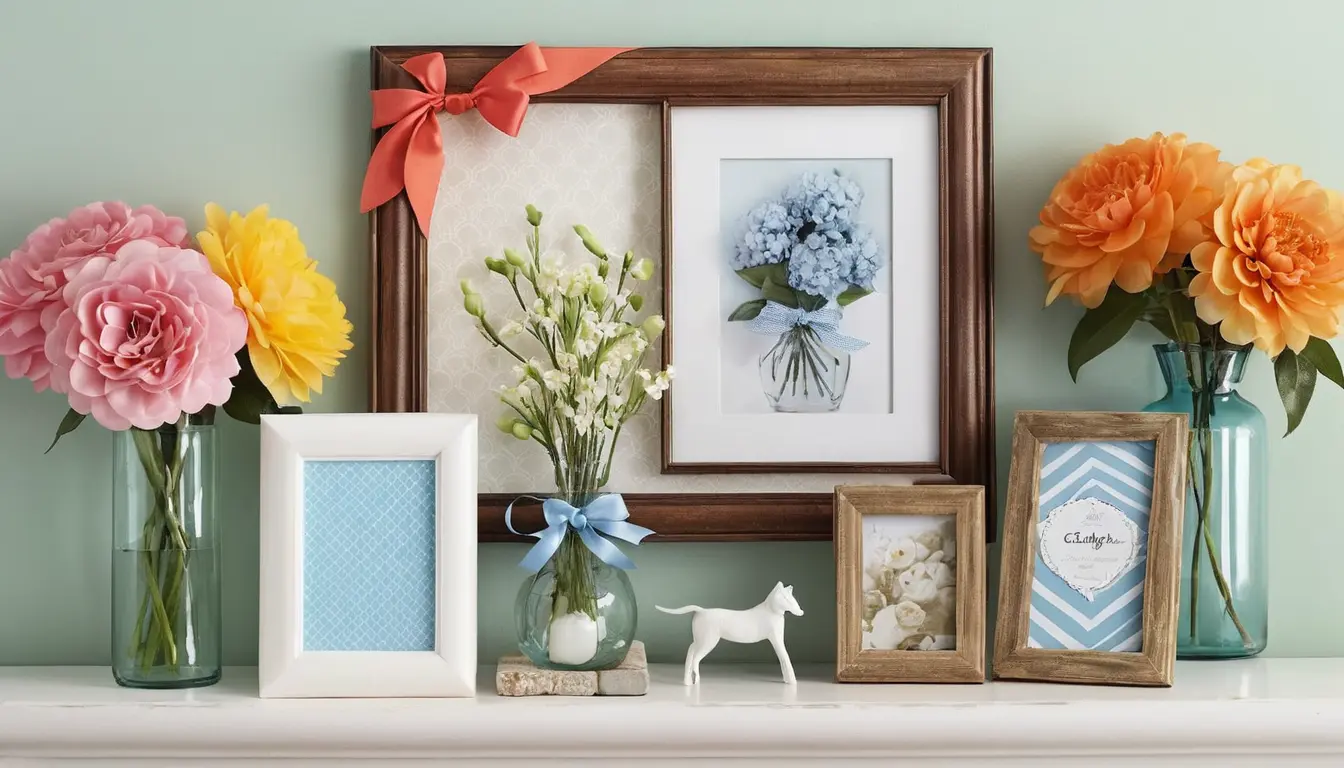
15 Projects That Made My Friends Think I’m Secretly Rich:
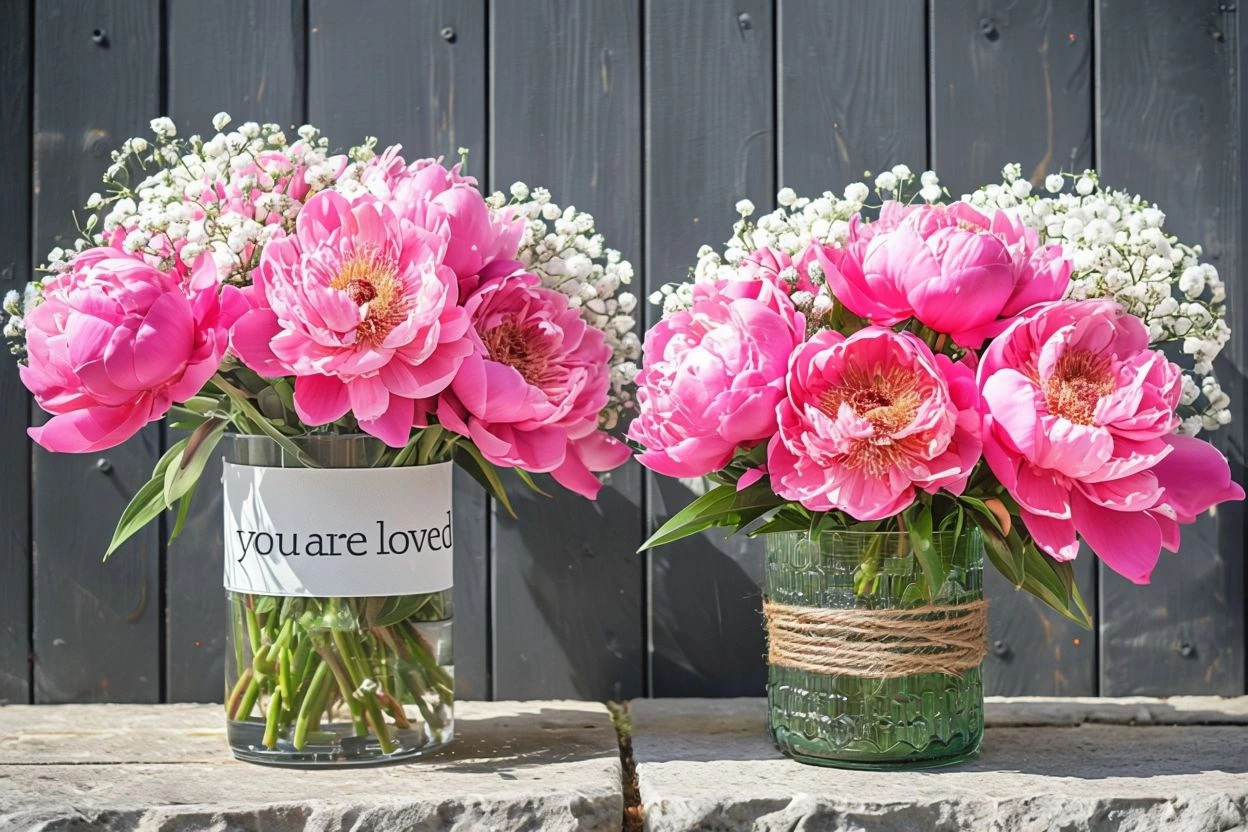
1. The Viral Vase Hack That Changed Everything
Remember those plain glass vases everyone walks right past? Let me tell you how I turned one into a wedding centerpiece that had the bride’s mother asking for my “designer’s” contact information…
This elegant vase transformation had my sister’s wedding guests asking about our “expensive” centerpieces. Little did they know!
You Will Need:
- Glass cylinder vase ($1.25)
- White spray paint ($1.25)
- Twine or jute rope ($1.25)
- Hot glue gun and sticks ($1.25)
- Artificial flowers ($1.25/bunch)
- Clear sealer ($1.25)
How to Make It:
- Clean the glass thoroughly with rubbing alcohol
- Apply light coats of spray paint to the outside only
- Let it dry completely (for at least 2 hours)
- Start at the bottom, hot glue twine in tight rows
- Continue wrapping until you reach the desired height
- Seal twine with clear sealer
- Add flowers once completely dry
Pro Tip: I learned to keep the twine rows super tight. Any gaps will show and make it look handmade rather than store-bought!
2. The $5 Chandelier Makeover
This project started as a desperate attempt to hide the ugly rental light fixture in my dining room. Three years later, I was still getting compliments…
It literally transformed my rental dining room from drab to fab. My landlord even asked where I bought it!
What You Will Need:
- Large plastic serving bowl ($1.25)
- Battery-operated LED lights ($1.25)
- Silver spray paint ($1.25)
- Crystal beads ($1.25)
- Command hooks ($1.25)
- Clear fishing line ($1.25)
How to Make It:
- Clean bowl thoroughly
- Spray paint in thin, even coats
- Drill or punch small holes around the rim
- String crystal beads through holes
- Attach LED lights inside
- Hang using Command hooks and fishing line
Pro Tip: Use a hair dryer between paint coats to speed up drying and prevent drips!

3. The Bathroom Spa Makeover ($8 Total!)
You won’t believe this, but my most complimented home project started because I was too embarrassed about my messy bathroom counter when guests came over. Using just Dollar Tree items, I created a spa-worthy organization system that looks like it came from a high-end boutique.
What You Will Need:
- 3 glass containers ($1.25 each)
- Mirror spray paint ($1.25)
- Adhesive labels ($1.25)
- Decorative rocks ($1.25)
- Optional: LED candle ($1.25)
How to Make It:
- Clean containers thoroughly
- Apply mirror spray paint in very light coats
- Let dry between coats (crucial!)
- Add decorative rocks to the bottom
- Apply labels
- Arrange on the counter with LED candle
- Fill with bathroom essentials
My Tips:
Let me tell you about my first attempt at spray painting glass—it was a streaky mess! Here’s what I learned: light, even coats are key. I also discovered that warming the containers slightly with a hair dryer helps the paint adhere better. My friend Jessica copied this project but added battery-operated fairy lights behind the containers—a genius upgrade!
4. The $10 Gallery Wall That Went Viral
This project started as a way to cover up some pretty ugly wall damage in my rental apartment. Now it’s been shared over 10,000 times on Pinterest!
What You Will Need:
- 6 black frames ($1.25 each)
- White cardstock ($1.25)
- Adhesive labels ($1.25)
- Command strips ($1.25)
- Free printable art (I’ll share my favorite sources!)
How to Make It:
- Paint frames if desired
- Print selected artwork on cardstock
- Create a paper template for wall arrangement
- Hang the template with painter’s tape to test the layout
- Mark hook locations
- Hang frames using Command strips
- Insert artwork
Pro Tips: I use paper grocery bags to create my templates – they work perfectly and cost nothing! The trick here is arrangement.
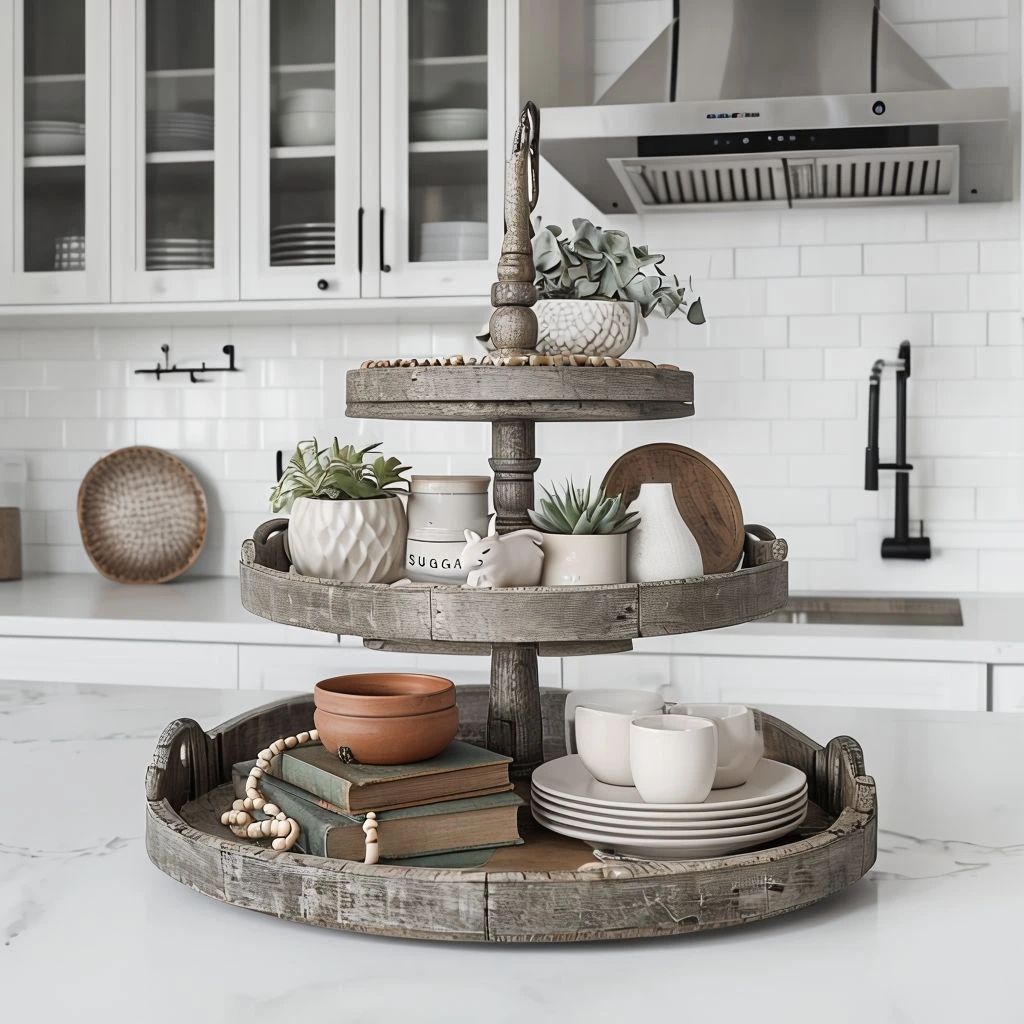
5. The Famous Tiered Tray Display
When my mother-in-law asked where I “bought” this piece, I knew I had a winner. This project cost $7.50 in total and looks just like the $95 version from that famous home décor store.
This three-tier stand looks exactly like the expensive ones from home décor stores!
What You Will Need:
- 3 glass plates (different sizes, $1.25 each)
- 2 candlesticks ($1.25 each)
- E6000 adhesive ($1.25)
- Optional: spray paint ($1.25)
- Felt pads ($1.25)
How to Make It:
- If you paint, do this first and let dry completely
- Clean all surfaces thoroughly with rubbing alcohol
- Apply E6000 to the bottom of the first candlestick
- Center and attach to the largest plate
- Let it dry for 24 hours
- Attach the second candlestick to the middle plate
- Finally, attach the smallest plate on top
Pro Tips: The key to success is patience – rushing the drying time will result in wobbly tiers!
6. Farmhouse Kitchen Canisters
Remember those plain plastic containers everyone passes by? Last summer, I transformed them into farmhouse-style storage that my Pinterest followers couldn’t believe came from Dollar Tree.
What You Will Need:
- 4 plastic storage containers ($1.25 each)
- White chalk paint ($1.25)
- Black permanent marker ($1.25)
- Clear sealer ($1.25)
- Letter stencils ($1.25)
- Jute rope ($1.25)
How to Make It:
- Clean containers thoroughly with rubbing alcohol
- Apply 2-3 thin coats of chalk paint, letting each dry completely
- Use stencils to add labels like “flour,” “sugar,” etc.
- Wrap jute rope around the lid edges
- Seal with two coats of clear sealer
- Let cure for 24 hours before using
Pro Tips: I learned the hard way that plastic needs proper prep – sand lightly before painting for better adhesion!
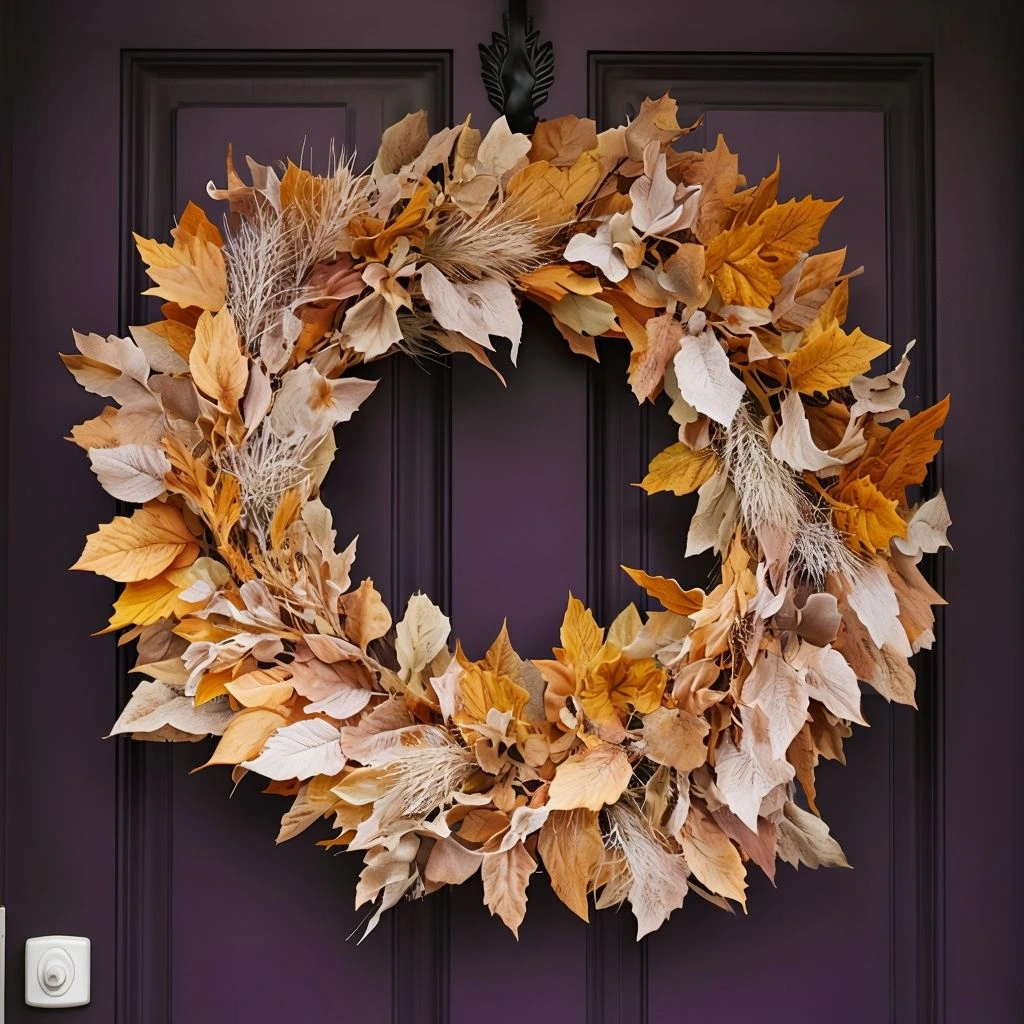
7. The Door Wreath That Started a Business
No joke – this wreath design led to so many requests that I started a small side hustle! I’ll share my exact process, including the “secret” Dollar Tree items that make it look high-end.
This wreath design got so many compliments that I started selling it at local craft fairs!
What You Will Need:
- Wire wreath form ($1.25)
- 2-3 rolls of mesh ribbon ($1.25 each)
- Floral stems ($1.25/bunch)
- Pipe cleaners ($1.25)
- Letter sign ($1.25)
- Floral wire ($1.25)
How to Make It:
- Create a mesh base by folding ribbon in loops around the form
- Add a second layer of contrasting mesh
- Attach focal point flowers in groups of three
- Add a sign to the center
- Fill in gaps with smaller elements
Pro Tip: Use three different ribbon textures for professional-looking depth.
8. Elegant Centerpiece Collection
These are perfect for weddings, holidays, or everyday elegance. I used them for my sister’s wedding, and the florist asked where we ordered them!
These centerpieces made my sister’s wedding look like it had a professional decorator.
What You’ll Need:
- 3-cylinder vases ($1.25 each)
- Mirror spray paint ($1.25)
- LED string lights ($1.25)
- Floral foam ($1.25)
- Artificial flowers (3 bunches at $1.25 each)
- River Rocks ($1.25)
How to Make It:
- Spray vases with mirror paint (outside only)
- Add river rocks for stability
- Insert floral foam
- Arrange lights through the foam
- Add flowers in a triangular arrangement
- Fill gaps with smaller blooms
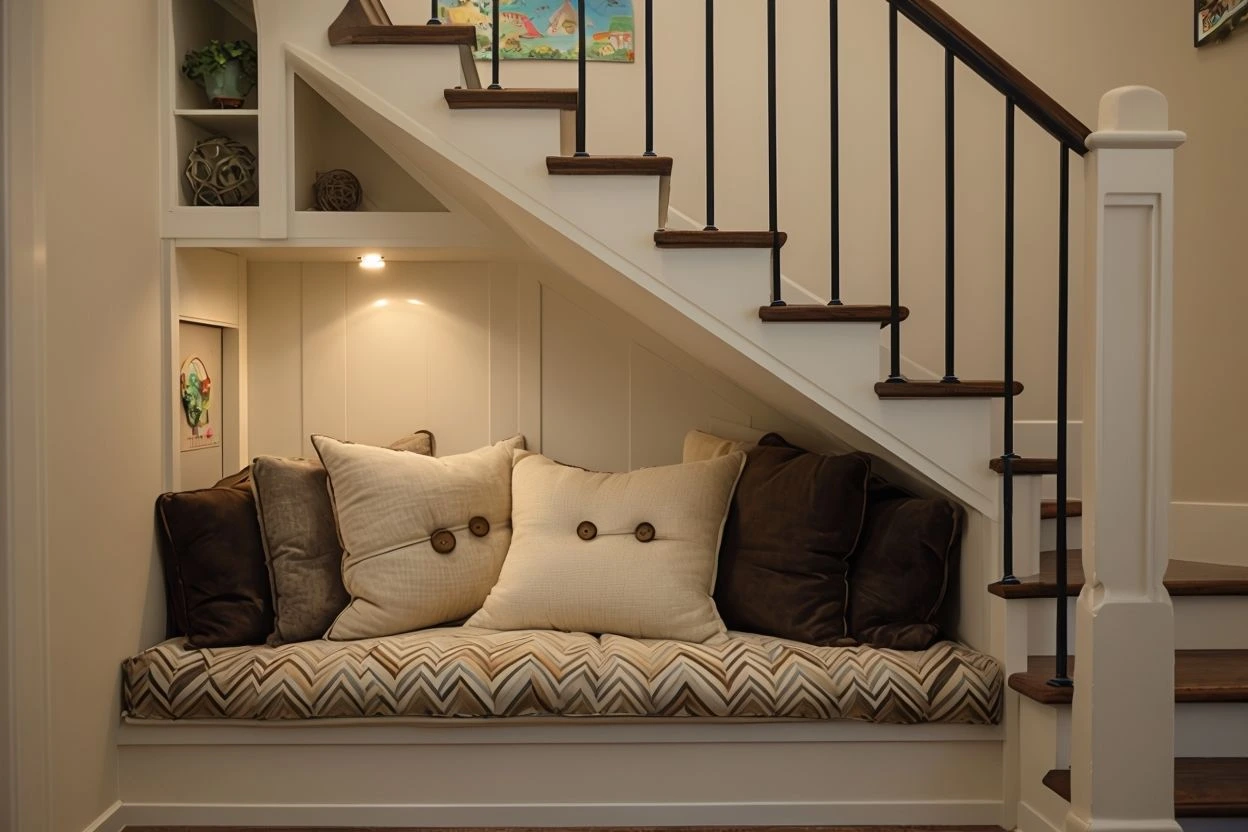
9. Kids’ Reading Nook
I’ve created this magical space for my niece for under $15. It includes storage, decorative elements, and even lighting!
What You’ll Need:
- 2 bed pillows ($1.25 each)
- 2 fleece blankets ($1.25 each)
- String lights ($1.25)
- Command hooks ($1.25)
- Storage basket ($1.25)
- Wall decals ($1.25)
- Picture frames ($1.25 each)
- Books from Dollar Tree ($1.25 each)
How to Make It:
- Create floor seating with pillows and blankets
- String lights in a triangle pattern above
- Add wall decals in reading themes
- Frame inspirational quotes
- Add flowers in a triangular arrangement
- Set up book storage basket
10. Office Organization System
This project transformed my work-from-home space and has been featured in several blogs. My work-from-home space went from chaos to Instagram-worthy with this system.
What You’ll Need:
- 4 plastic bins ($1.25 each)
- Letter organizer ($1.25)
- Push pins ($1.25)
- Corkboard ($1.25)
- Desk organizer ($1.25)
- Labels ($1.25)
- Spray paint ($1.25)
How to Make It:
- Paint all storage items in coordinating colors
- Create zones for different activities
- Label everything clearly
- Set up vertical storage using a corkboard
- Organize supplies by frequency of use
11. Holiday Card Display
This solution was born from me having too many holiday cards and no attractive way to show them. Now it’s a year-round photo display!
What You’ll Need:
- Picture frame ($1.25)
- Chicken wire ($1.25)
- Mini clothespins ($1.25)
- Paint ($1.25)
- Command strips ($1.25)
How to Make It:
- Remove glass from the frame
- Paint frame desired color
- Attach chicken wire to the back
- Add clothespins
- Hang securely with Command strips
12. Outdoor Solar Lighting Project
These luminaries look so high-end, my neighbor thought they were from a designer store. They’ve survived three seasons outdoors!
What You’ll Need:
- Solar lights ($1.25 each)
- Glass vases ($1.25 each)
- River rocks ($1.25/bag)
- Twine ($1.25)
- Clear sealer ($1.25)
How to Make It:
- Clean vases thoroughly
- Add river rocks for stability
- Insert solar lights
- Wrap twine around the top of the vase
- Seal twine with clear sealer
- Place in a sunny location
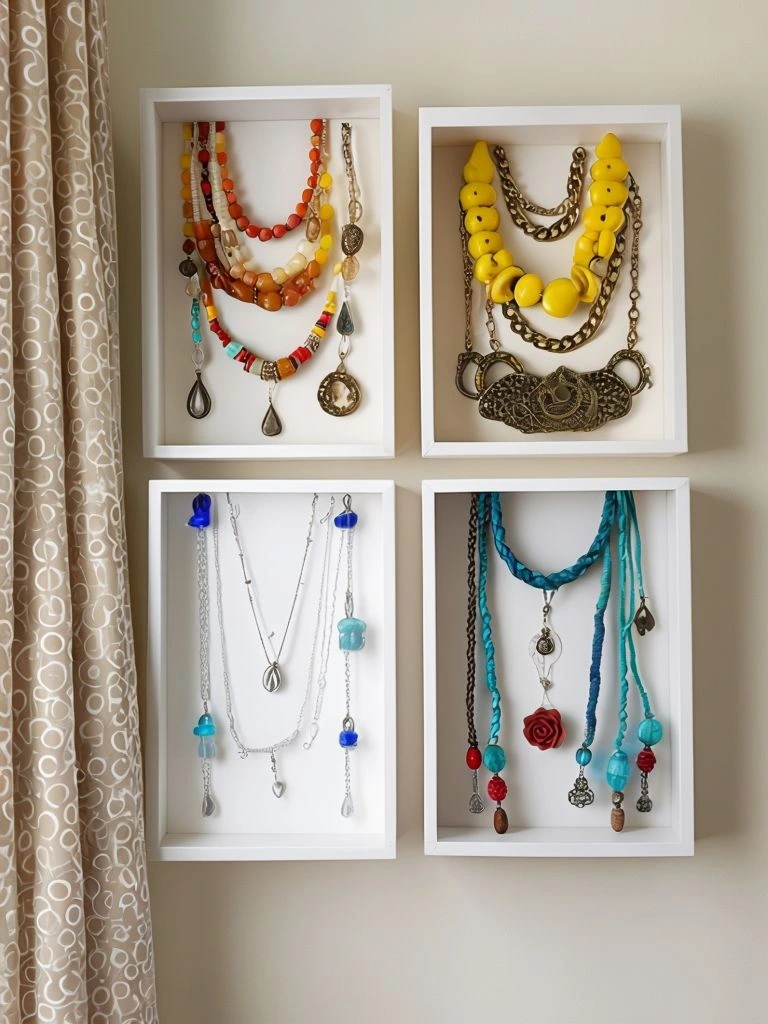
13. Jewelry Organization Station
This project solved my tangled necklace problem and created wall art at the same time. Perfect for small spaces!
No more tangled necklaces!
What You’ll Need:
- Large frame ($1.25)
- Mesh screen ($1.25)
- Hooks ($1.25)
- Spray paint ($1.25)
- Small dishes ($1.25 each)
How to Make It:
- Remove glass from the frame
- Paint frame
- Attach mesh screen
- Add hooks for necklaces
- Attach small dishes for rings
- Hang securely
14. Custom Kitchen Backsplash
Yes, really! Using Dollar Tree items, I created a removable backsplash that fooled my landlord into thinking I’d renovated.
This removable solution is perfect for rentals.
What You’ll Need:
- Peel-and-stick tiles ($1.25/pack)
- Scissors ($1.25)
- Level ($1.25)
- Measuring tape ($1.25)
- Command strips ($1.25)
How to Make It:
- Clean surface thoroughly
- Cut tiles to fit
- Apply in rows, checking the level
- Add hooks for necklaces
- Seal edges with caulk
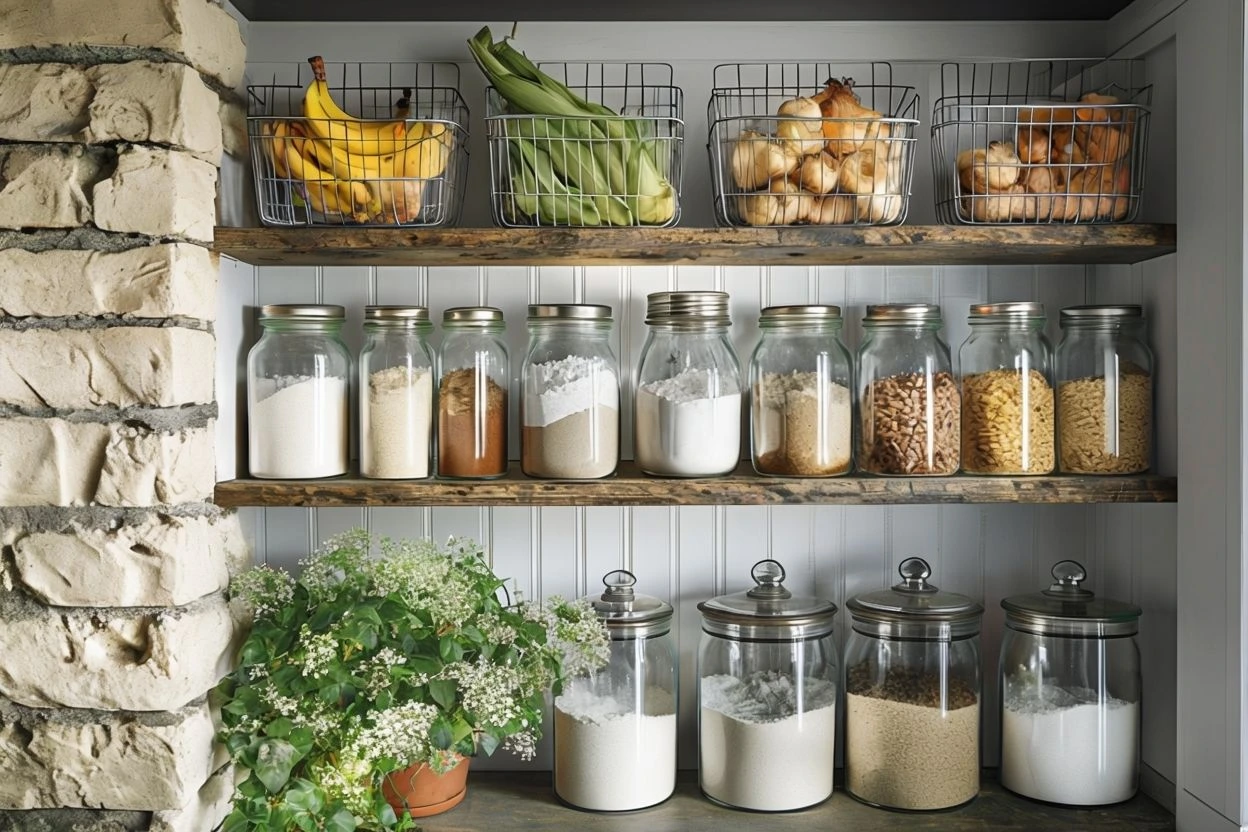
15. The Ultimate Pantry Makeover
The most practical project that’s saved me hundreds on grocery bills by keeping everything visible and organized.
This system has saved me hundreds on groceries.
What You’ll Need:
- Clear containers ($1.25 each)
- Labels ($1.25)
- Baskets ($1.25 each)
- Shelf liner ($1.25)
- Magazine holders ($1.25 each)
How to Make It:
- Empty pantry completely
- Line shelves
- Sort items by category
- Transfer to containers
- Add baskets for loose items
Project Tips That Will Save Your Sanity
After completing all these projects (multiple times!), I’ve learned some crucial lessons:
- Plan Before You Shop
Have a clear vision for each room and make a list of items to avoid impulse buys. This helps you stick to your budget and ensures you don’t buy items you won’t use. - Start Small with High-Impact Projects
Focus on easy, high-impact projects like revamping picture frames or vases. Dollar Tree items can be quickly transformed with a little paint or glue. - Invest in Spray Paint
Spray paint is your best friend! Dollar Tree has various items like vases, picture frames, and baskets that can look high-end with a coat of spray paint. - Upgrade Dollar Tree Storage Bins
Transform plain storage bins by adding rope, fabric, or labels. This makes them look custom and helps keep your space organized while staying within budget. - Use Contact Paper for Quick Makeoversde
Dollar Tree offers peel-and-stick contact paper that’s perfect for updating shelves, countertops, and even furniture. It’s an affordable way to add personality to any space. - Decorate with Seasonal Finds
Dollar Tree carries seasonal decor that can be repurposed creatively. Think outside the box to craft wreaths, garlands, or centerpieces for each season on a budget. - Repurpose Glassware and Vases
Dollar Tree has a variety of glass items that can be painted, wrapped, or decorated. They’re perfect for creating stylish vases, candle holders, and storage jars for any room. - Prep Work is Essential
You know how they say preparation is key? And ‘they’ are right. Don’t skimp on this part as it will save you a lot of time later and prevent you from doing a lot of extra work. - Check Quality Carefully
Not everything at Dollar Tree is built to last. Inspect items closely for cracks, flimsiness, or sharp edges. When in doubt, avoid anything that feels like it could break easily, especially items you plan to handle often. - Don’t Skimp on Adhesives
For any project that requires a strong bond, use a high-quality glue or adhesive from a trusted brand. This will keep your project intact longer and save you from frustrating repairs.
Your Dollar Tree Crafting Journey Starts Here
One of the unexpected joys of Dollar Tree crafting has been the amazing community I’ve found along the way. There’s the elderly gentleman who, in the paint aisle, patiently showed me how to properly distress wood—turns out I was doing it all wrong! And then there’s the young mom who swapped tips with me on organizing chaos with simple, clever hacks. Every encounter feels like a small but heartfelt reminder that crafting isn’t just about creating something new; it’s about connecting with others who share the same spark.
Happy crafting!
