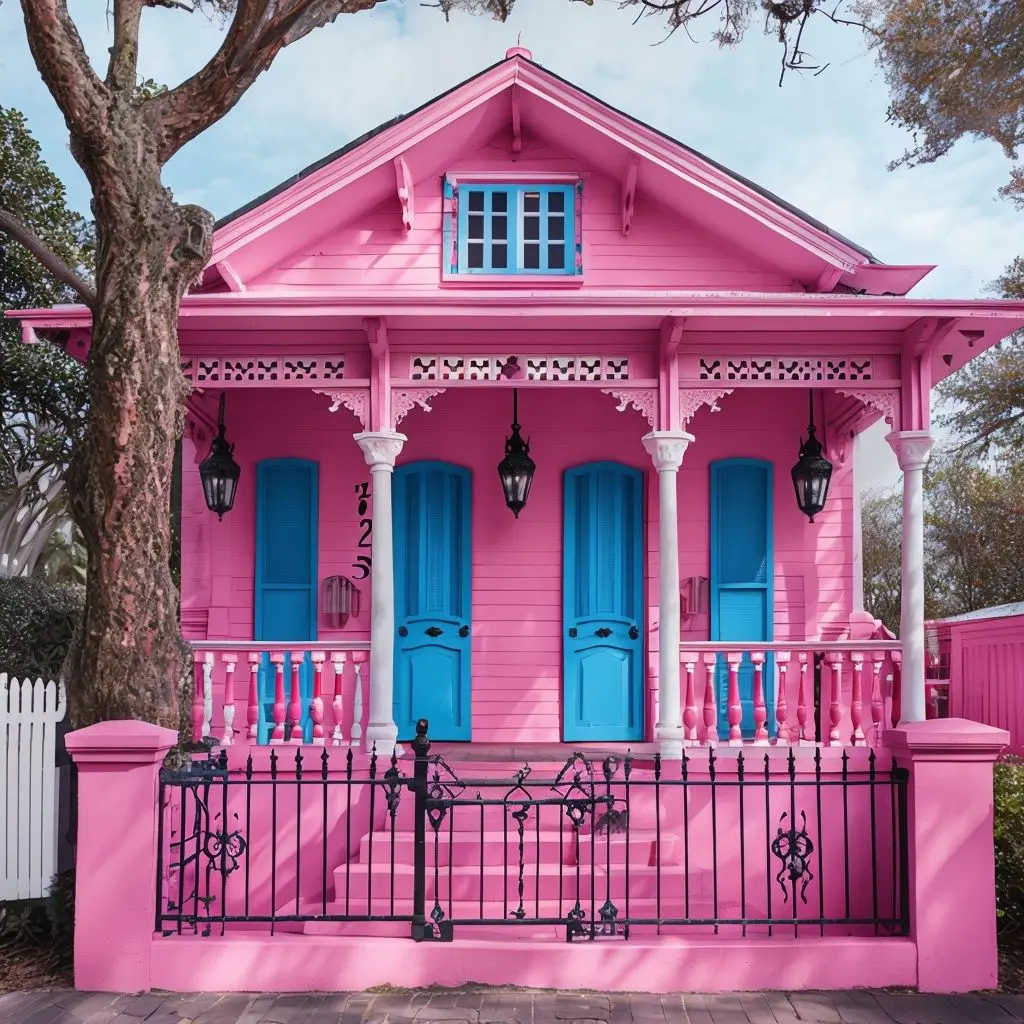
Why DIY Home Projects Are Your New Best Friend
Let me tell you a secret: I used to be intimidated by home improvement projects. The thought of drilling, painting, or building something from scratch made me break into a cold sweat. But then I realized something important – everyone starts somewhere, and you can transform your home with the right guidance.
The Magic of DIY: More Than Just Saving Money
DIY isn’t just about cutting costs (though that’s a fantastic bonus). It’s about:
– Unleashing your creativity
– Building confidence
– Learning new skills
– Having fun while improving your home
The Rise of DIY Culture: Why Everyone’s Getting Crafty
Thanks to social media platforms like Pinterest, TikTok, and Instagram, DIY has exploded in popularity. People are no longer just consumers – they’re creators. The trend isn’t just about making something new; it’s about:
– Sustainability and upcycling
– Expressing individual style
– Creating unique, one-of-a-kind items
– Sharing accomplishments with a global community
Beginner-Friendly DIY Projects for Every Room
Living Room Magic: DIY Projects to Elevate Your Space
Your living room is the heart of your home – the place where memories are made, conversations happen, and your style shines. Let’s dive into some incredible DIY projects that will transform this space without breaking the bank.
1. Painted Vases and Planters: A Splash of Personality
Materials Needed:
– Plain ceramic or glass vases
– Acrylic paint
– Painter’s tape
– Paintbrushes
– Clear sealant (optional)
Step-by-Step Guide:
1. Clean your vases thoroughly with rubbing alcohol
2. Use painter’s tape to create geometric patterns or clean lines
3. Apply 2-3 coats of acrylic paint, allowing each coat to dry completely
4. Remove the tape carefully for crisp edges
5. Optional: Seal with a clear protective coat
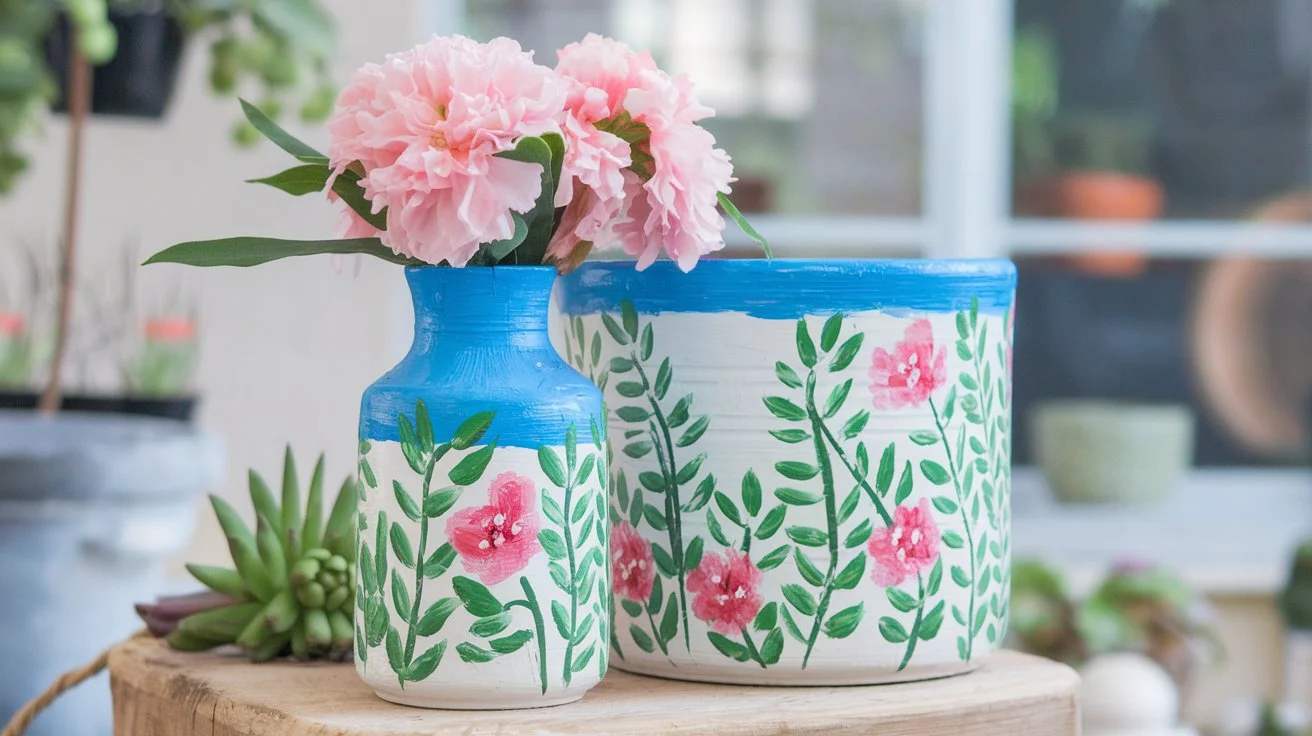
Pro Tips:
– Mix metallic and matte paints for depth
– Try ombré effects by gradually blending colors
– Use stencils for more intricate designs
2. Floating Shelves: Storage Meets Style
Difficulty Level: Intermediate
Estimated Cost: $50-$100
Materials:
– Wooden boards (pine or reclaimed wood)
– Brackets
– Wall anchors
– Drill
– Level
– Sandpaper
– Wood stain or paint
– Mounting hardware
Design Variations:
– Rustic farmhouse style with distressed wood
– Sleek modern look with dark stain
– Colorful painted shelves for a bold statement
Styling Ideas:
– Display family photos
– Showcase travel souvenirs
– Create a mini indoor garden
– Organize books and decorative objects
3. Custom Coasters: Functional Art
Three Unique Techniques:
Resin Coasters
Materials:
– Silicone molds
– Epoxy resin
– Dried flowers
– Glitter
– Mixing cups
– Disposable gloves
Technique:
– Pour the resin in layers
– Embed decorative elements
– Create stunning, unique designs
Cork Coasters with Pyrography
Materials:
– Cork rounds
– Wood-burning tool
– Stencils
– Protective gloves
Design Options:
– Mandala patterns
– Cityscape outlines
– Personal monograms
– Nature-inspired designs
Tile Coasters
Materials:
– Ceramic tiles
– Scrapbook paper
– Mod Podge
– Felt pads
– Clear sealant
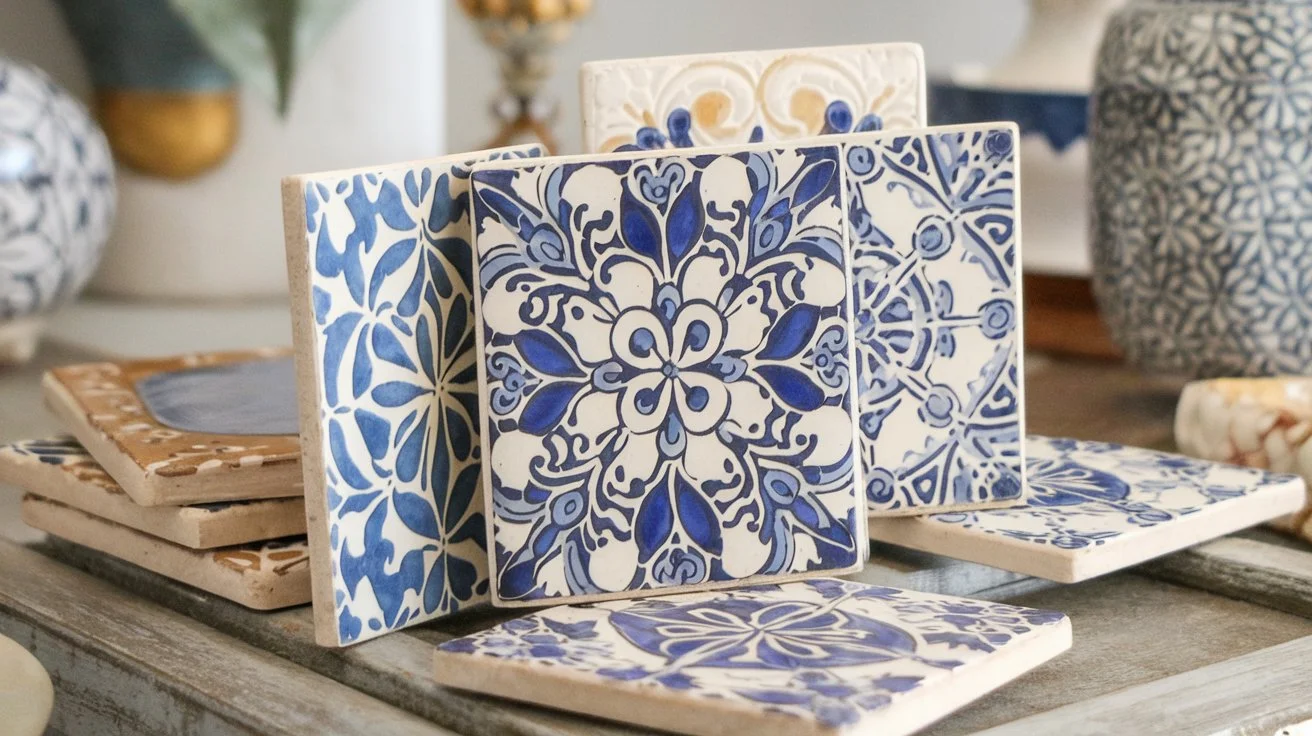
Customization Ideas:
– Match your room’s color scheme
– Use travel photos
– Create themed sets
– Personalize with quotes
4. Gallery Wall: Your Personal Story
Concept: Create a curated display of memories and art
Materials:
– Assorted frames (mix of sizes and styles)
– Kraft paper for layout planning
– Command strips or picture hangers
– Level
– Measuring tape
Curation Tips:
– Mix photographs with art prints
– Include 3D elements like small shelves
– Create visual balance
– Tell a story through your selections
5. Statement Throw Pillows
No-Sew Method:
– Purchase plain pillow covers
– Use fabric glue
– Add trims, patches, or iron-on designs
– Create unique textures with fabric manipulation
Pro Tips for Living Room DIY Success
– Always measure twice, cut once
– Invest in quality basic tools
– Watch tutorial videos
– Don’t be afraid to experiment
– Start small and build confidence
Budget Breakdown:
– Most projects range from $20-$100
– Many materials can be found at discount stores
– Upcycle existing items to cut costs
Time Investment:
– Simple projects: 1-3 hours
– More complex shelving: Half a day
– Always allow extra time for learning
Common Mistakes to Avoid
– Rushing the process
– Skipping surface preparation
– Not using proper safety equipment
– Comparing your first project to professional results
Remember, DIY is about expressing yourself. Not every project will be perfect, and that’s okay! Each attempt is a learning experience that builds your skills and confidence.
Are you ready to transform your living room? For more tips on creating a harmonious home, check out our guide on How to Create a Minimalist Home.
Bedroom: DIY Projects to Transform Your Sleep Space
Your bedroom is more than just a place to sleep – it’s your retreat, a reflection of your style, and a space that should make you feel comfortable and inspired. Let’s explore some amazing DIY projects that will breathe new life into your bedroom without emptying your wallet.
1. Headboard Makeovers: From Bland to Grand
Reclaimed Wood Headboard
Difficulty Level: Intermediate
Estimated Cost: $75-$150
Materials Needed:
– Reclaimed wooden pallets or barn wood
– Sandpaper
– Wood stain or paint
– Mounting brackets
– Drill
– Protective sealant
– Measuring tape
– Level
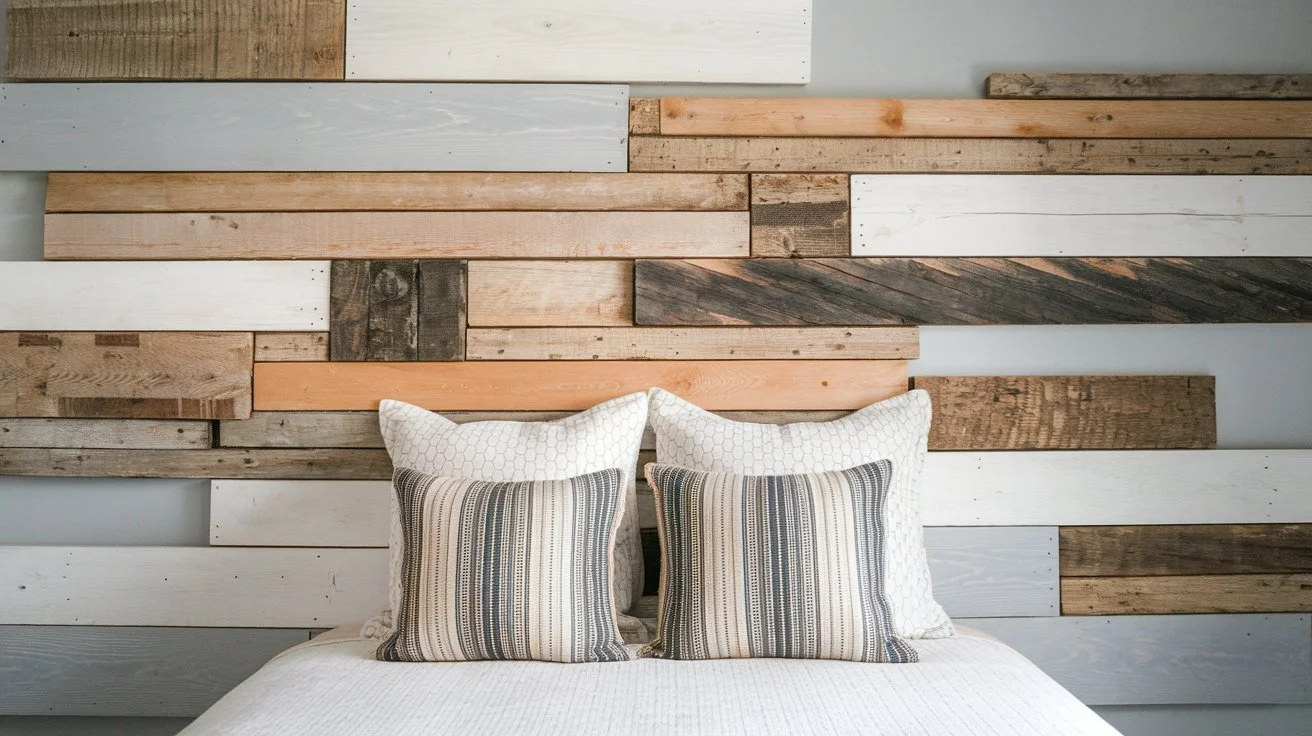
Step-by-Step Process:
1. Clean and sand wood thoroughly
2. Arrange boards in the desired pattern
3. Secure boards together
4. Apply stain or paint
5. Mount securely to the wall
Design Variations:
– Rustic farmhouse-style
– Modern minimalist look
– Weathered coastal feel
Peel-and-Stick Tile Headboard
Quick and Rental-Friendly Option
Materials:
– Peel-and-stick wall tiles
– Measuring tape
– Level
– Scissors or utility knife
Styles to Explore:
– Faux Marble
– Textured 3D effects
– Metallic finishes
– Geometric patterns
2. No-Sew Throw Pillows: Instant Room Transformation
Method 1: Fabric Knotting
Materials:
– Fabric squares
– Pillow insert
– Fabric scissors
– No-sew fabric glue
Techniques:
– Tie-knot corners
– Braided edge designs
– Layered fabric looks
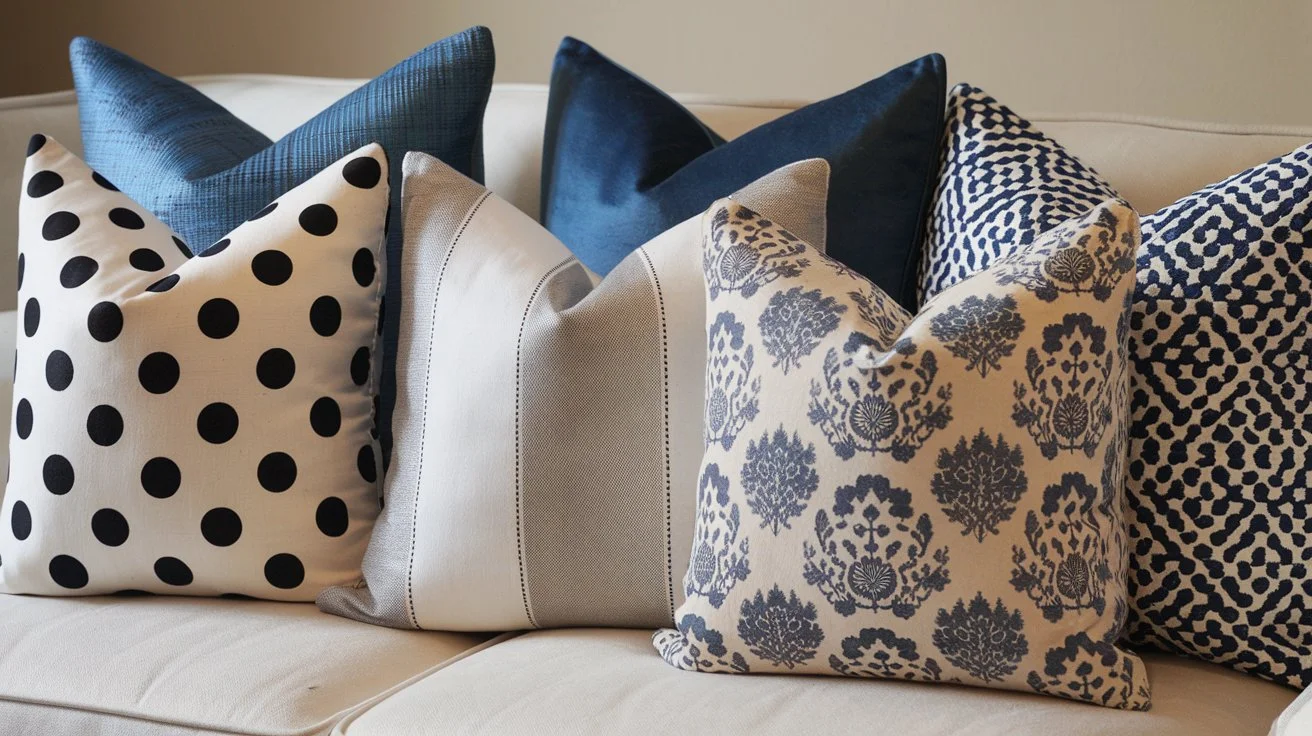
Method 2: Iron-On Magic
– Use iron-on adhesive
– Create clean, professional edges
Design Inspiration:
– Bohemian textures
– Minimalist solid colors
– Vintage pattern mixes
– Ombre effects
3. DIY Nightstand Organizers
Wooden Crate Nightstand
Materials:
– Wooden crates
– Wood stain
– Wheels (optional)
– Sandpaper
– Protective finish
Customization Options:
– Stackable designs
– Built-in charging station
Floating Bedside Shelf
Materials:
– Wooden board
– Floating shelf brackets
– Paint or stain
– Drill
– Wall anchors
Features:
– Space-saving design
– Minimalist aesthetic
– Customizable width and color
4. Mood Lighting DIY Projects
String lights can add a soft glow and create a cozy vibe.
Mason Jar Lamp
Materials:
– Mason jar
– Lamp kit
– Drill
– Decorative elements
– Fairy lights (alternative)
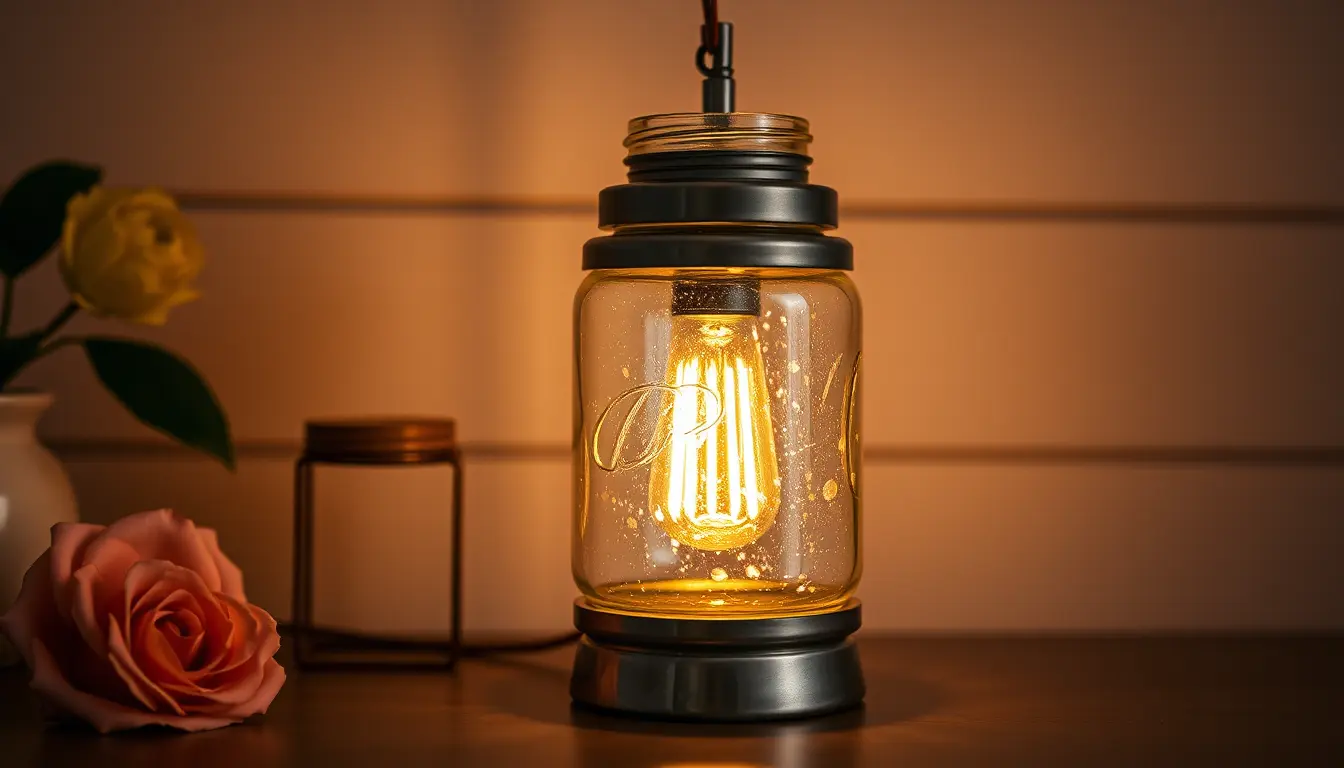
Styles:
– Rustic
– Modern
– Vintage-inspired
Macramé Wall Hanging with Integrated Lighting
Materials:
– Cotton rope
– Wooden dowel
– Fairy lights
– Hooks
5. Wall Art and Personalization
Photo Collage Wall
Techniques:
– Magnetic picture hanging
– String and clothespin method
– Digital print options
Fabric Wall Hanging
Materials:
– Embroidery hoop
– Fabric
– Decorative threads
– Botanical elements
Pro Tips for Bedroom DIY Success
Budget Considerations:
– Most projects under $100
– Thrift store finds can reduce costs
– Multipurpose designs save money
Time Investment:
– Simple projects: 2-4 hours
– Complex designs: Full weekend
Common Mistakes to Avoid
– Ignoring the room’s existing color scheme
– Purchasing unnecessary materials
– Comparing your work to professional designs
DIY is about expressing yourself. Each project is a journey of creativity, learning, and personal expression. Don’t aim for perfection – aim for a space that feels uniquely yours.
Ready to transform your bedroom? Pick a project, gather your supplies, and let’s create something amazing!
Pro Tip: Always take before and after photos. Your future self will thank you for documenting the transformation!
Kitchen Creativity: DIY Projects to Spice Up Your Culinary Space
The kitchen is more than just a place to cook – it’s the heart of your home, a space of creativity, connection, and comfort. Let’s explore some amazing DIY projects that will transform your kitchen from ordinary to extraordinary, without breaking the bank.
1. Magnetic Spice Rack: Organization Meets Style
Refrigerator Door Spice Solution
Difficulty Level: Easy
Estimated Cost: $30-$75
Materials Needed:
– Small magnetic containers
– Metallic labels
– Permanent markers
– Spice funnels
– Magnetic sheet (optional)
Container Options:
– Clear glass jars
– Stainless steel tins
– Ceramic magnetic containers
– Vintage-inspired designs
Spice Organization Techniques:
– Alphabetical arrangement
– Color-coded system
– Cuisine-based grouping
– Frequency of use
Installation Steps:
1. Clean the refrigerator surface
2. Attach magnetic bases
3. Fill containers with spices
4. Label clearly
5. Arrange for easy access
Pro Tips:
– Use airtight containers
– Keep away from direct sunlight
– Replace spices annually
– Create custom blend labels
2. Hand-Painted Cutting Boards: Functional Art
Wooden Cutting Board Transformation
Materials:
– Wooden cutting boards
– Food-safe paint
– Stencils
– Food-grade sealant
– Painter’s tape
– Paintbrushes
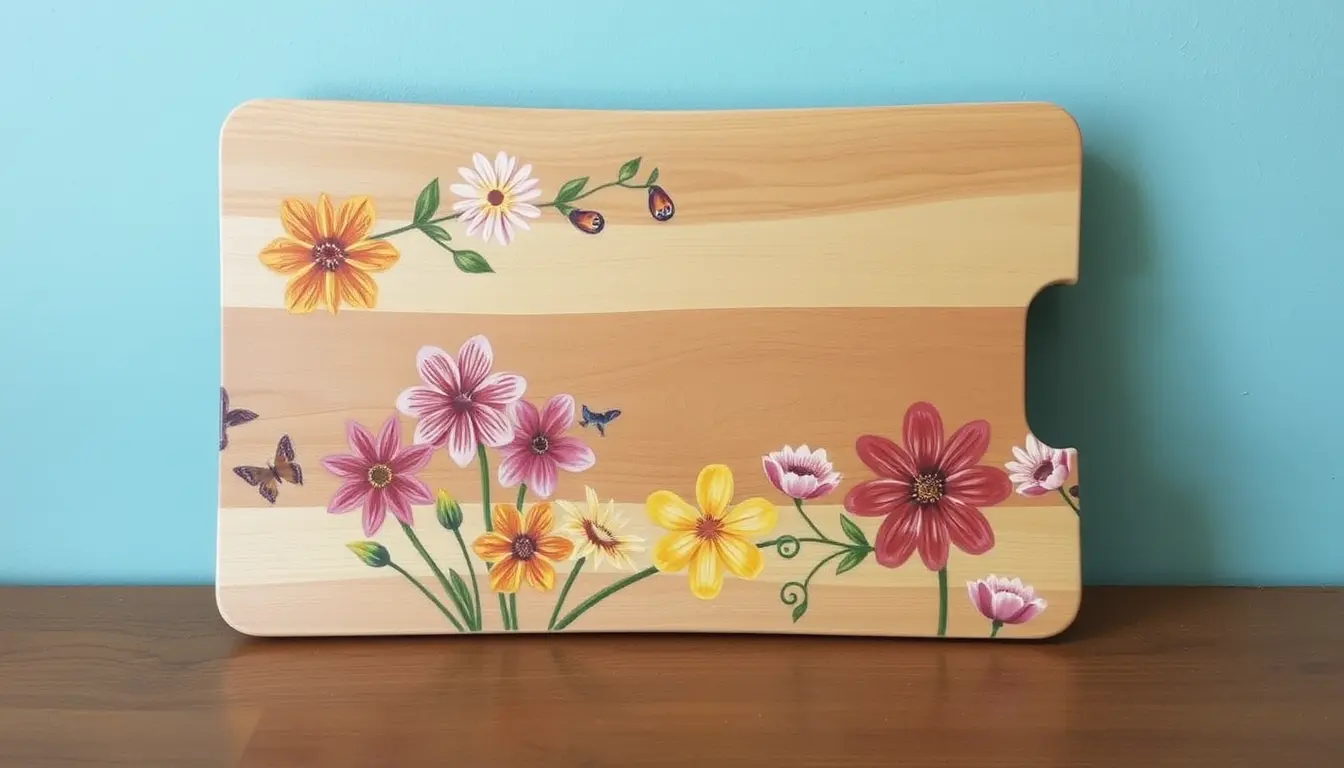
Design Styles:
– Farmhouse typography
– Botanical illustrations
– Geometric patterns
– Minimalist line art
– Cultural motifs
Painting Techniques:
– Stencil method
– Freehand painting
– Layered designs
– Ombre effects
Sealing and Preservation:
– Use food-grade mineral oil
– Apply multiple thin coats
– Allow proper drying time
– Reapply sealant monthly
3. Tiled Trivets: Practical Kitchen Accessories
Mosaic Trivet Creation
Materials:
– Ceramic tiles
– Tile cutter
– Grout
– Backing board
– Felt pads
– Protective gloves
Design Variations:
– Geometric patterns
– Color gradient
– Mandala-inspired
– Minimalist grid design
Construction Process:
1. Plan design layout
2. Cut tiles precisely
3. Apply tiles to backing
4. Add grout carefully
5. Seal and finish
6. Attach felt bottom
4. Kitchen Wall Organization
Pegboard Cooking Tool Display
Materials:
– Wooden pegboard
– Hooks
– Paint or stain
– Mounting hardware
– Decorative hooks
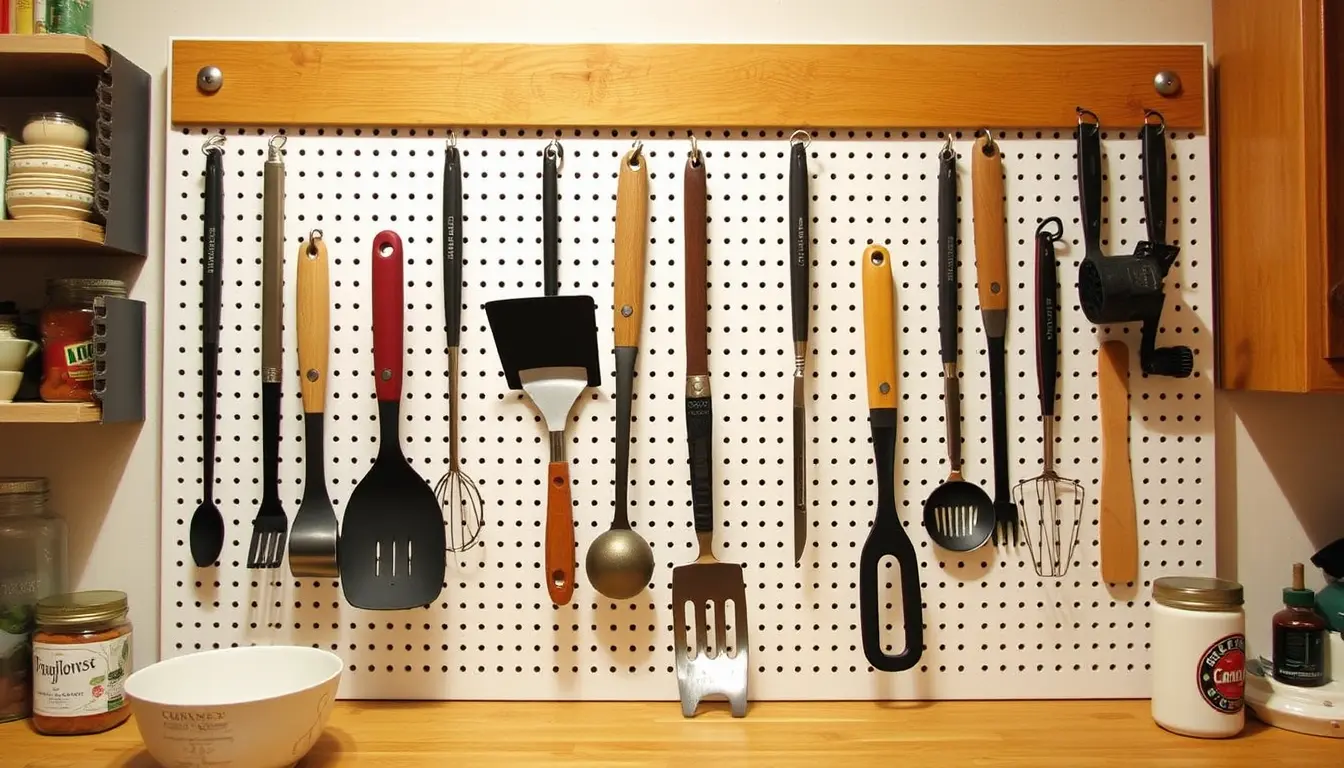
Organizational Strategies:
– Cooking utensils hanging
– Pot and pan storage
– Herb planter integration
– Cookbook display area
5. Open Shelving Kitchen Upgrade
Materials:
– Reclaimed wood
– Sturdy brackets
– Level
– Drill
– Wood stain
– Mounting anchors
Styling Ideas:
– Display cookbooks
– Show off beautiful dishes
– Create an herb garden zone
– Showcase vintage kitchenware
6. Custom Kitchen Backsplash
Temporary Tile Solution
Materials:
– Peel-and-stick tiles
– Measuring tape
– Utility knife
– Level
Design Options:
– Subway tile look
– Moroccan-inspired patterns
– Metallic finishes
– Marble-like appearance
Pro Tips for Kitchen DIY Success
Budget Considerations:
– Most projects under $100
– Repurpose existing materials
– Shop sales and clearance
– Use multipurpose tools
Time Investment:
– Simple projects: 2-4 hours
– Complex designs: Full weekend
Common Mistakes to Avoid
– Neglecting food safety
– Using non-food-grade materials
– Overcrowding design
– Ignoring the kitchen’s existing style
DIY is about expressing yourself, learning new skills, and creating a space that feels uniquely yours. Every project is an opportunity to add personal flair to your culinary haven.
Ready to transform your kitchen? Grab your supplies and let’s cook up some creativity!
Pro Tip: Always take before and after photos – your kitchen’s transformation will be worth remembering!
Bathroom Brilliance: DIY Projects to Elevate Your Bathroom Space
Your bathroom is more than just a functional room – it’s a personal sanctuary where you start and end your day. Let’s explore some incredible DIY projects that will transform this space into a stylish, organized, and refreshing retreat.
1. Mason Jar Soap Dispensers: Rustic Charm Meets Functionality
Difficulty Level: Easy
Estimated Cost: $20-$50
Materials Needed:
– Mason jars (wide-mouth)
– Soap pump lids
– Drill
– Metallic spray paint (optional)
– Decorative elements
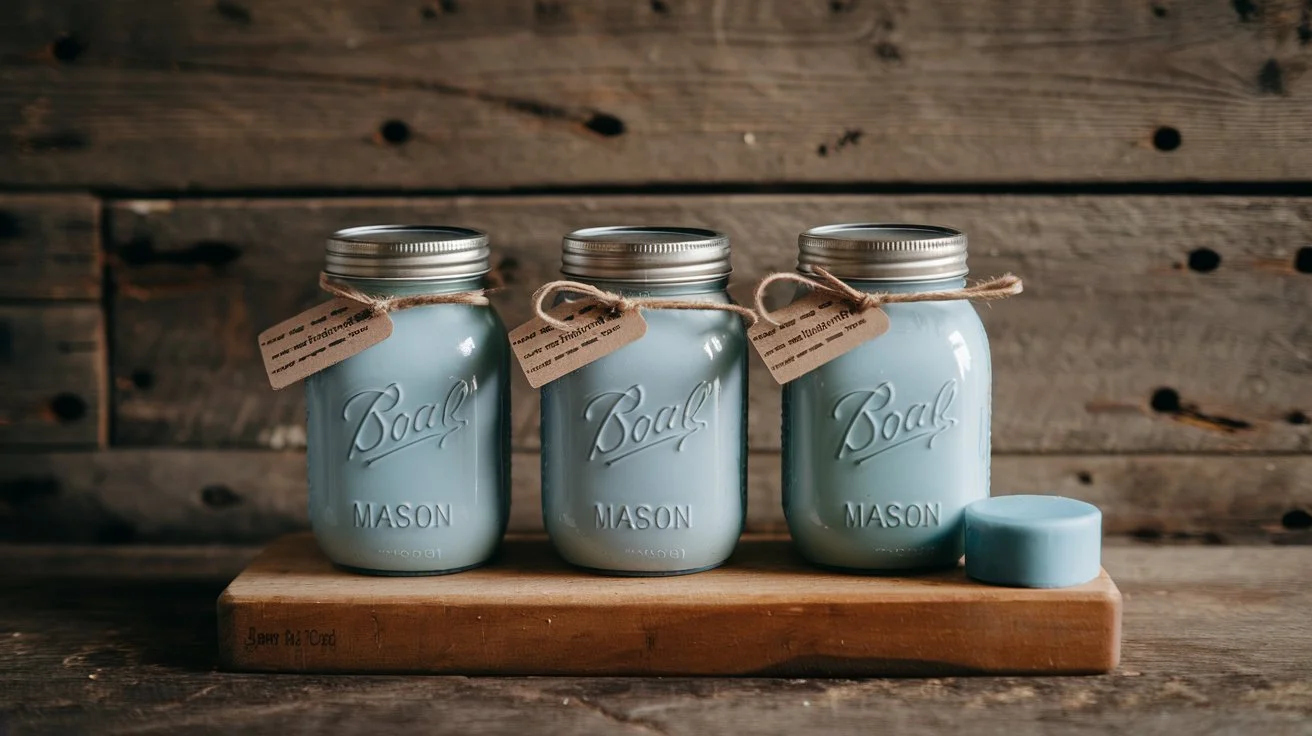
Customization Techniques:
– Painted glass
– Metallic finishes
– Etched designs
– Ribbon wrapping
Installation Steps:
1. Clean the mason jar thoroughly
2. Drill a hole in the lid
3. Install soap pump
4. Decorate as desired
5. Fill with hand soap
Styling Options:
– Farmhouse chic
– Modern minimalist
– Vintage-inspired
– Color-coordinated with bathroom decor
2. DIY Bath Tray: Luxury at Your Fingertips
Wooden Bath Tray Design
Materials:
– Wooden board
– Saw
– Sandpaper
– Wood stain
– Waterproof sealant
– Adjustable brackets
Compartment Ideas:
– Book/tablet holder
– Wine glass slot
– Candle space
– Phone rest
– Essential oil tray
Construction Techniques:
– Adjustable width design
– Non-slip bottom
– Waterproof coating
– Ergonomic edges
3. Peel-and-Stick Wallpaper Accents
Materials:
– Removable wallpaper
– Measuring tape
– Utility knife
– Smoothing tool
Design Variations:
– Geometric patterns
– Tropical themes
– Marble effects
– Watercolor designs
– Minimalist textures
Application Zones:
– Accent wall
– Behind the toilet
– Around mirror
– Inside shower niche
4. Bathroom Storage Solutions
Floating Shelves
Materials:
– Wooden boards
– Floating shelf brackets
– Drill
– Level
– Wood stain
– Mounting anchors
Styling Concepts:
– Ladder-style shelving
– Corner shelf designs
– Multi-tier configurations
– Built-in towel storage
Over-Toilet Storage
Materials:
– Ladder-style rack
– Wooden dowels
– Mounting hardware
– Paint or stain
Organization Ideas:
– Towel hanging
– Decorative plant display
– Toiletry storage
– Rolled towel presentation
5. Mirror Makeover Projects
Frame Your Mirror
Materials:
– Trim wood
– Mitre saw
– Wood glue
– Mounting brackets
– Paint or stain
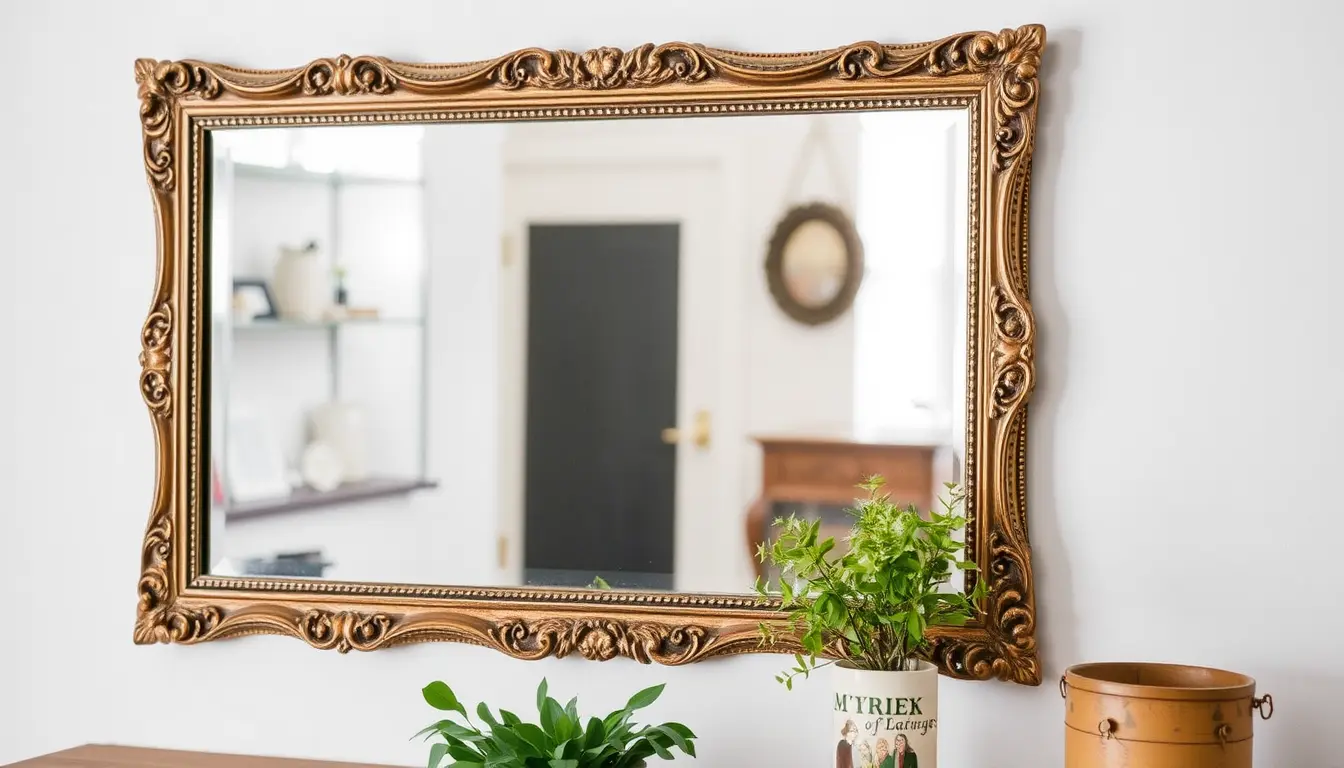
Design Styles:
– Rustic wooden frame
– Sleek modern trim
– Ornate vintage look
– Minimalist metal frame
6. Bathroom Organizational Hacks
Under-Sink Organization
Materials:
– Stackable containers
– Drawer dividers
– Adhesive hooks
– Clear storage bins
Organizational Strategies:
– Vertical storage solutions
– Pull-out drawer systems
– Hidden compartments
– Color-coded containers
7. Natural Decor Elements
DIY Dried Flower Arrangements
Materials:
– Dried flowers
– Glass vases
– Decorative stones
– Preserved botanical elements
Styling Themes:
– Minimalist zen
– Bohemian wild
– Coastal inspiration
– Soft pastel arrangements
Pro Tips for Bathroom DIY Success
Budget Management:
– Most projects under $100
– Use multipurpose materials
– Shop clearance sections
– Repurpose existing items
Time Investment:
– Simple projects: 1-3 hours
– Complex designs: Half a day
Common Mistakes to Avoid
– Ignoring moisture resistance
– Overcrowding small spaces
– Neglecting ventilation
– Using non-bathroom-friendly materials
DIY is about creating a space that reflects your personality, brings you joy, and makes daily routines feel special. Each project is an opportunity to transform the ordinary into something extraordinary.
Ready to elevate your bathroom? Grab your supplies and let’s create something amazing!
Pro Tip: Always consider moisture and humidity when selecting materials and designs for bathroom DIY projects!
Seasonal DIY Projects: Bringing the Outdoors In and Celebrating Every Season
Seasons aren’t just about changing weather – they’re an opportunity to reinvent your living space, celebrate nature’s rhythms, and keep your home fresh and exciting. Let’s explore some amazing DIY projects that will make each season feel special and unique.
Spring Renewal Projects
1. Vertical Herb Garden: Fresh Flavors at Your Fingertips
Materials Needed:
– Wooden pallet or vertical hanging planter
– Soil
– Herb seedlings
– Landscape fabric
– Staple gun
– Hooks or mounting brackets
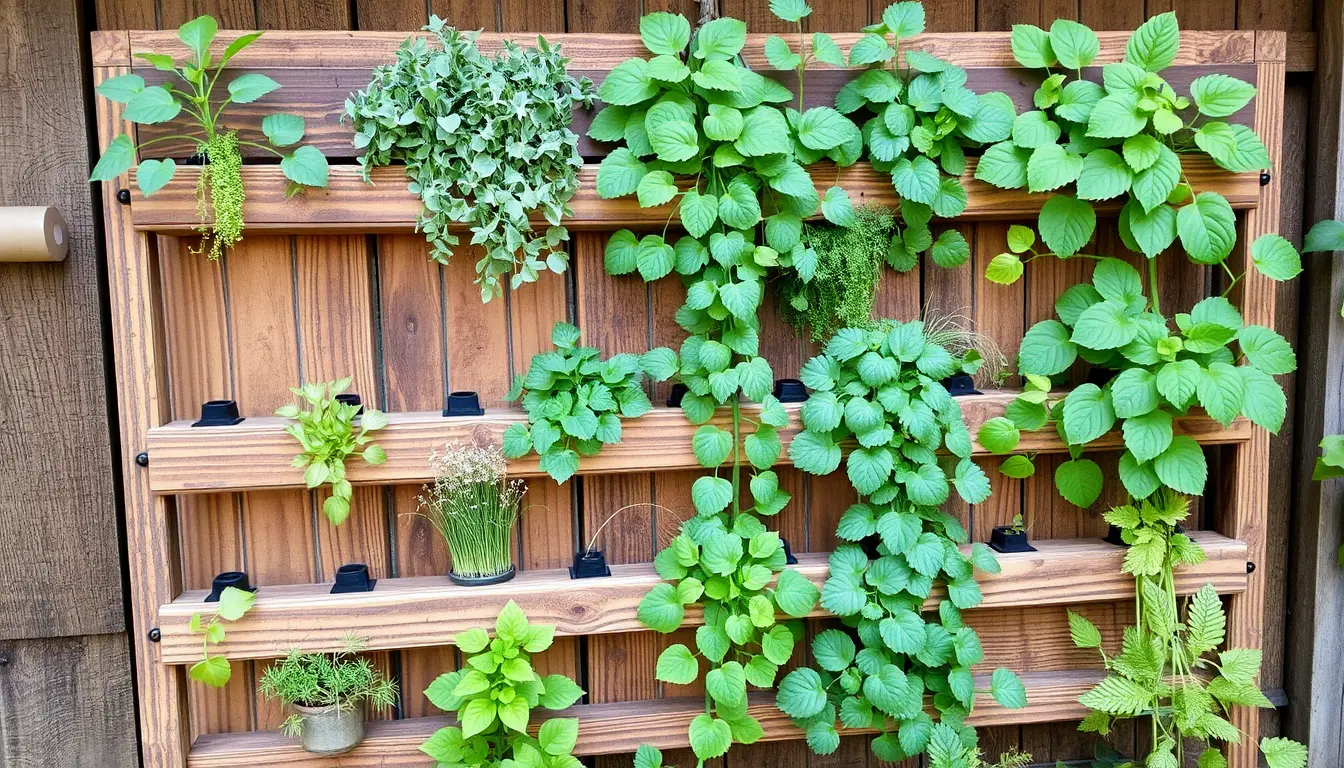
Herb Options:
– Basil
– Mint
– Rosemary
– Thyme
– Cilantro
– Chives
Installation Steps:
1. Prepare and clean the wooden surface
2. Line with landscape fabric
3. Create soil compartments
4. Plant herbs
5. Mount in sunny kitchen or balcony area
Pro Tips:
– Label each herb section
– Use waterproof markers
– Ensure proper drainage
– Rotate herbs for optimal growth
2. Spring Wreath: Welcome Nature Indoors
Materials:
– Wreath base (grapevine or foam)
– Faux or dried flowers
– Wire cutters
– Hot glue gun
– Ribbon
– Seasonal elements
Design Styles:
– Pastel color palette
– Wildflower inspiration
– Minimalist green design
– Vintage botanical look
Summer Outdoor Transformation
1. DIY Outdoor Lanterns
Mason Jar Fairy Light Lanterns
Materials:
– Mason jars
– Wire handles
– Fairy lights
– Battery-operated tea lights
– Decorative wire
– Spray paint (optional)
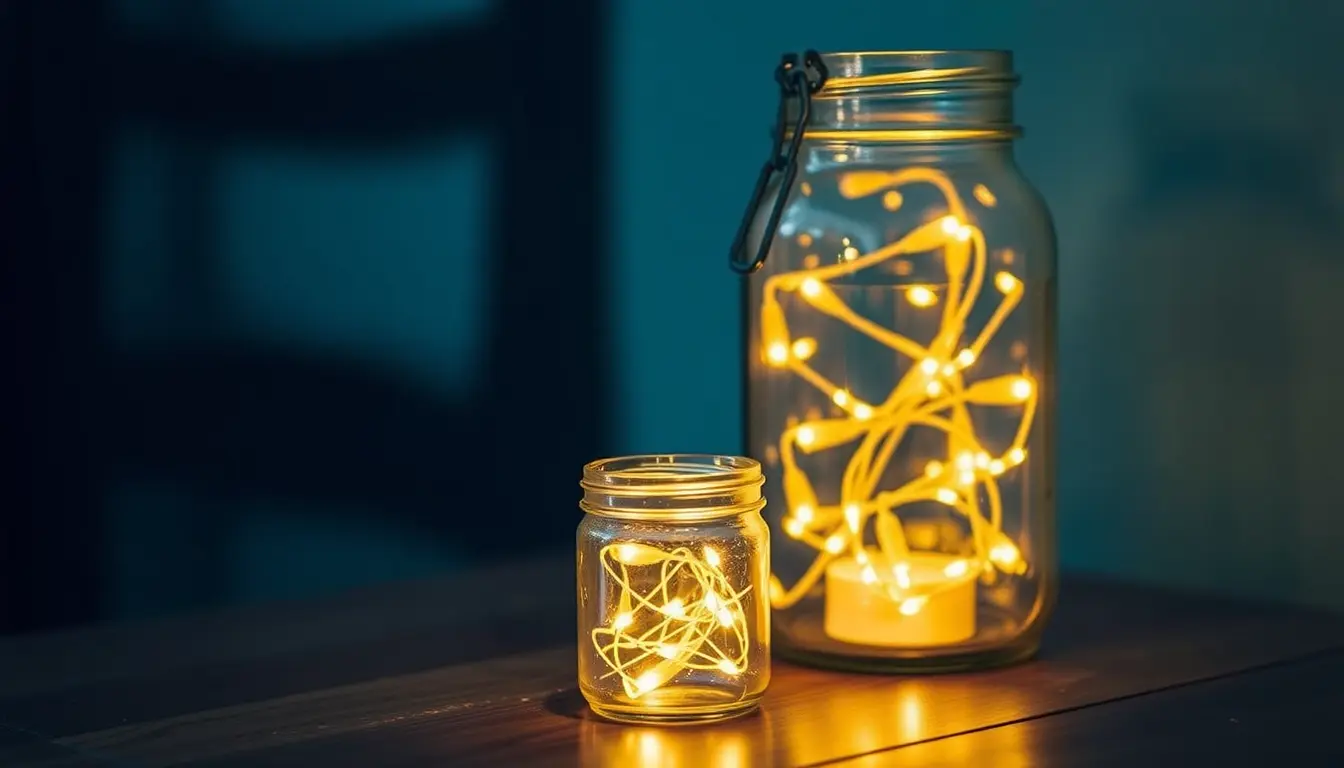
Placement Ideas:
– Patio railings
– Tree branches
– Hanging pergola
– Garden walkways
2. Patio Furniture Refurbishment
Painting Techniques:
– Chalk paint
– Spray paint
– Ombre effects
– Stencil designs
Materials:
– Outdoor furniture paint
– Sandpaper
– Primer
– Protective sealant
– New cushion covers
Fall Cozy Creations
1. Decorative Seasonal Wreaths
Materials:
– Wreath base
– Faux autumn leaves
– Pine cones
– Burlap ribbon
– Hot glue gun
– Wire cutters
Design Variations:
– Rustic farmhouse
– Modern minimalist
– Traditional harvest
– Woodland-inspired
2. Mason Jar Snow Globes
Winter Craft Project
Materials:
– Mason jars
– Distilled water
– Glycerin
– Glitter
– Small figurines
– Waterproof sealant
Theme Options:
– Winter Wonderland
– Holiday scenes
– Miniature landscapes
– Personalized memories
Winter Warmth Projects
1. Cozy Blanket Ladder
Materials:
– Reclaimed wooden ladder
– Sandpaper
– Wood stain
– Mounting brackets
– Protective sealant
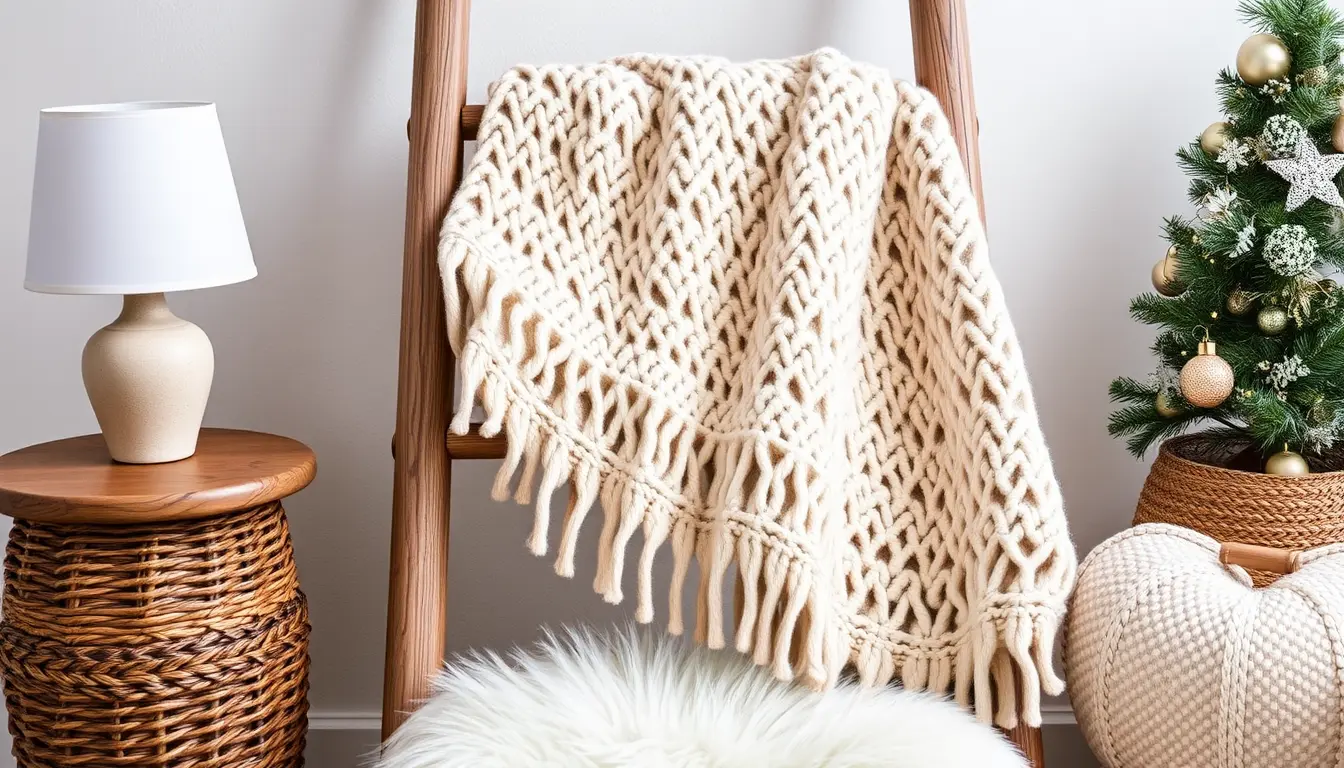
Styling Tips:
– Layer different textures
– Mix neutral and bold colors
– Create visual interest
– Functional storage solution
2. Indoor Terrarium Gardens
Materials:
– Glass containers
– Activated charcoal
– Potting soil
– Small plants
– Decorative stones
– Moss
Plant Options:
– Succulents
– Air plants
– Miniature ferns
– Small cacti
Pro Tips for Seasonal DIY Success
Budget Management:
– Source materials from discount stores
– Use multipurpose craft supplies
– Repurpose existing items
– Shop end-of-season sales
Time Investment:
– Simple projects: 1-3 hours
– Complex designs: Half a day to weekend
Common Mistakes to Avoid
– Buying too many specialized materials
– Neglecting seasonal color trends
– Overcrowding design
– Ignoring personal style
Remember, seasonal DIY is about capturing moments, expressing creativity, and making your space feel alive and dynamic. Each project celebrates nature’s beautiful changes.
Ready to transform your home with the seasons? Grab your supplies and let’s create something magical!
Pro Tip: Take photos of your projects to create a beautiful DIY memory album of your home’s seasonal transformations!
Essential Tools for DIY Success
You don’t need a full workshop. Start with:
– Hammer
– Screwdriver set
– Measuring tape
– Paintbrushes
– Glue gun
– Basic sander
Safety First!
Always wear protective gear and work in a well-ventilated area. YouTube tutorials are your friend for learning techniques.
Where to Find Affordable Materials
– Thrift stores
– Online marketplaces
– Clearance sales
– Facebook Marketplace
– Local buy/sell groups
Showcasing Your DIY Journey
Always wear protective gear and work in a well-ventilated area. YouTube tutorials are your friend for learning techniques.
– Local DIY forums
– Facebook groups
Pro Tip: Good Lighting Makes Great Photos
Natural light and a clean background can make your projects look professional.
Your DIY Adventure Starts Now
Remember, perfection isn’t the goal – creativity and fun are! Every project is a learning experience. Some will turn out amazing, some… not so much. And that’s okay.
Ready to start your DIY journey? Grab some tools, pick a project, and let’s transform your space!
What project are you excited to try first?
